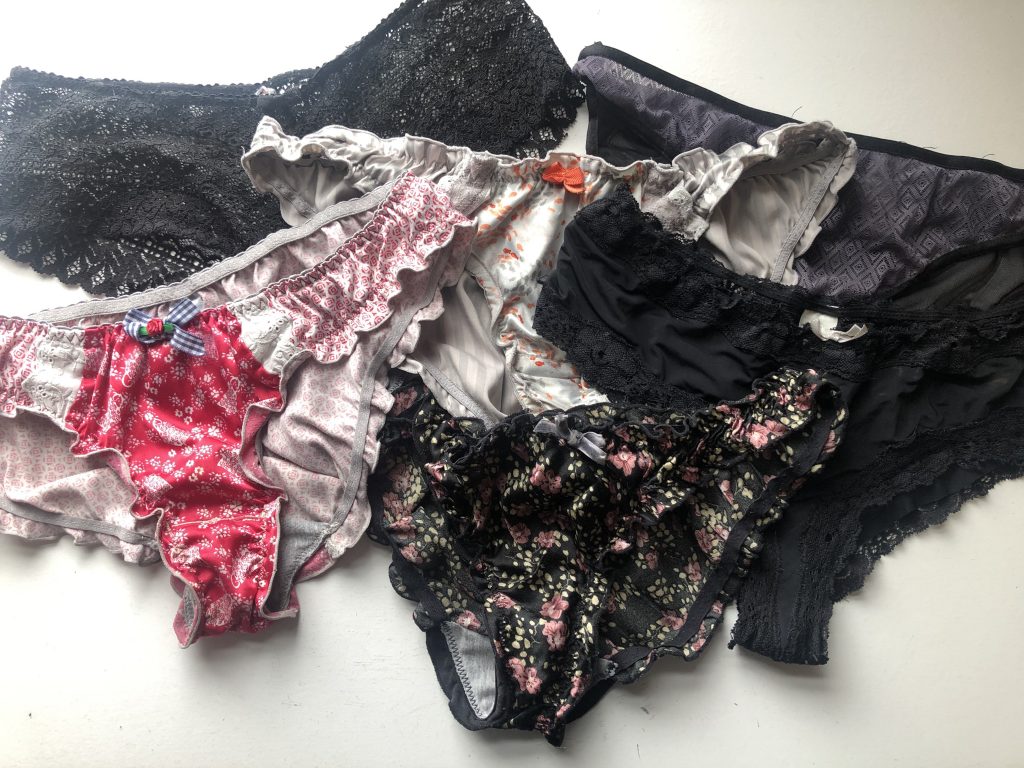
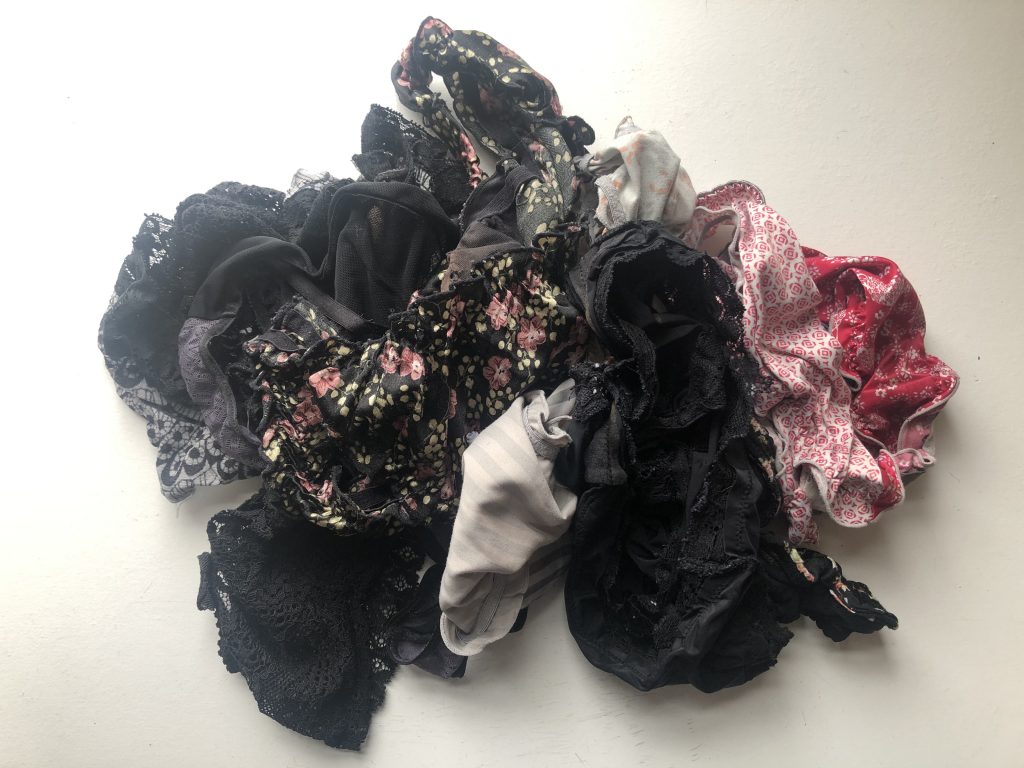
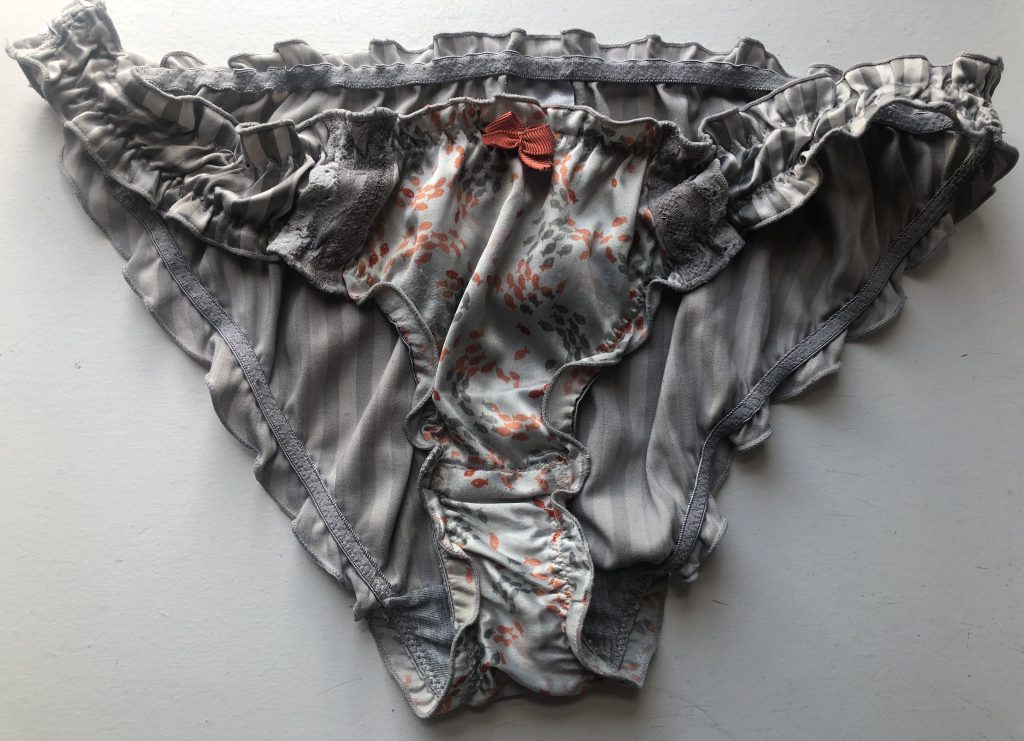
Without going into too many intimate details, many of the pairs of pants or knickers that we own get damaged or stained in the same area. The majority of the fabric that makes the knickers is still in good condition and perfectly useable, but the (often) cotton gusset that lines the inside of the knicker becomes discoloured or weak from regular wear. This ‘How to’ blog will take you through a simple technique to replace the cotton gusset using old t-shirt fabric and keep your undies going for even longer!
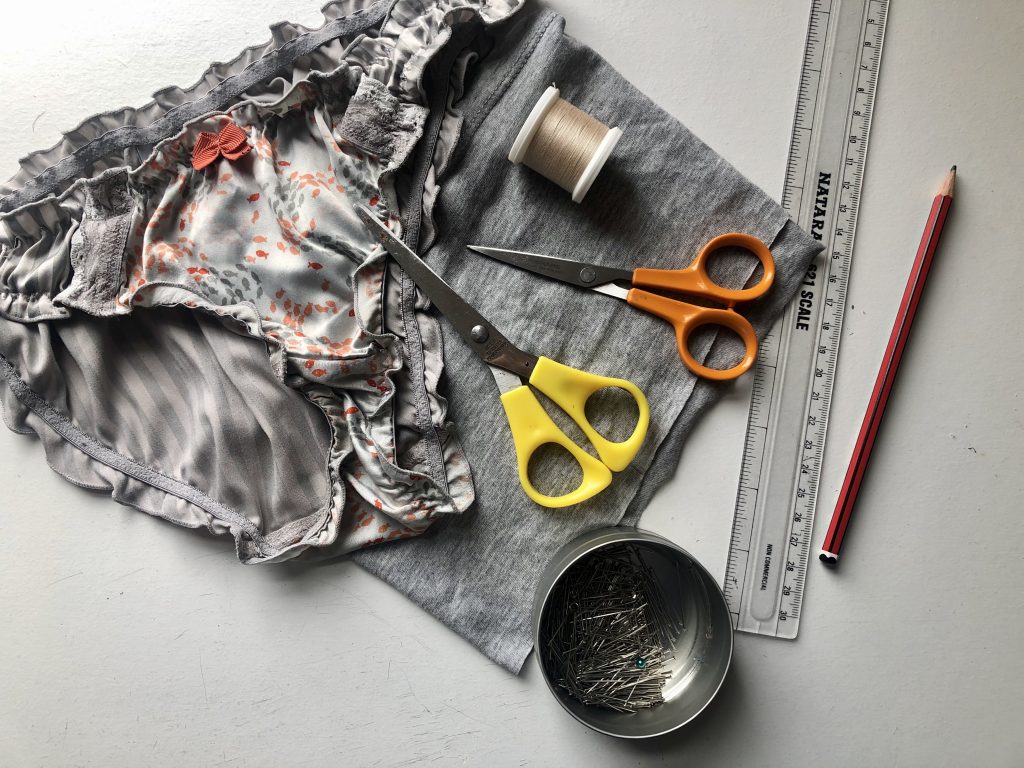
To get started, you’ll need to find some cotton jersey fabric, this could be from an old (but not too damaged/stained) t-shirt you have at home or you can buy cotton jersey fabric online (there are lots of sustainable options for this too, Offset Warehouse usually have a good selection). I’m using the bottom of a t-shirt that I cut off to turn it into a cropped style. This blog shows how to do the technique on a classic knicker style, it can be adapted for other styles, it’ll just get more fiddly the tinier your underwear is!
As well as this, you’ll need your much-loved knickers, fabric scissors, paper scissors, matching or contrasting sewing thread (depending on your style), pencil, paper, ruler and dressmaking pins. This blog will show how to do the technique with a sewing machine, but it could be done using hand-stitching as well.


First off, start by using your fabric scissors to cut the cotton gusset that is already in the knickers away along the edge of the elastic and across the seams on the top and bottom. Be careful when you’re doing this not to cut the outer fabric and create any more holes in your underwear, you can pull the top fabric up as you cut to avoid catching the outer fabric. Try to keep the fabric you cut away in one piece as this will be used in the next stage.


Using the piece of fabric you have cut out, draw around the shape of it onto your piece of paper. Once you have drawn all the way around, use a ruler to measure another line 1cm from the edge of the shape and draw all the way around. This is the template you will use for cutting your new gusset out.


Use some pins to secure your paper template onto the cotton jersey fabric you are working with and cut around the shape with your fabric scissors. If you have lots of knickers that are a similar size and shape in need of repair, you might be able to use this template for all of them. It’s good to check the style and sizing of the gusset on each one before you cut the fabric out so you don’t waste any fabric.


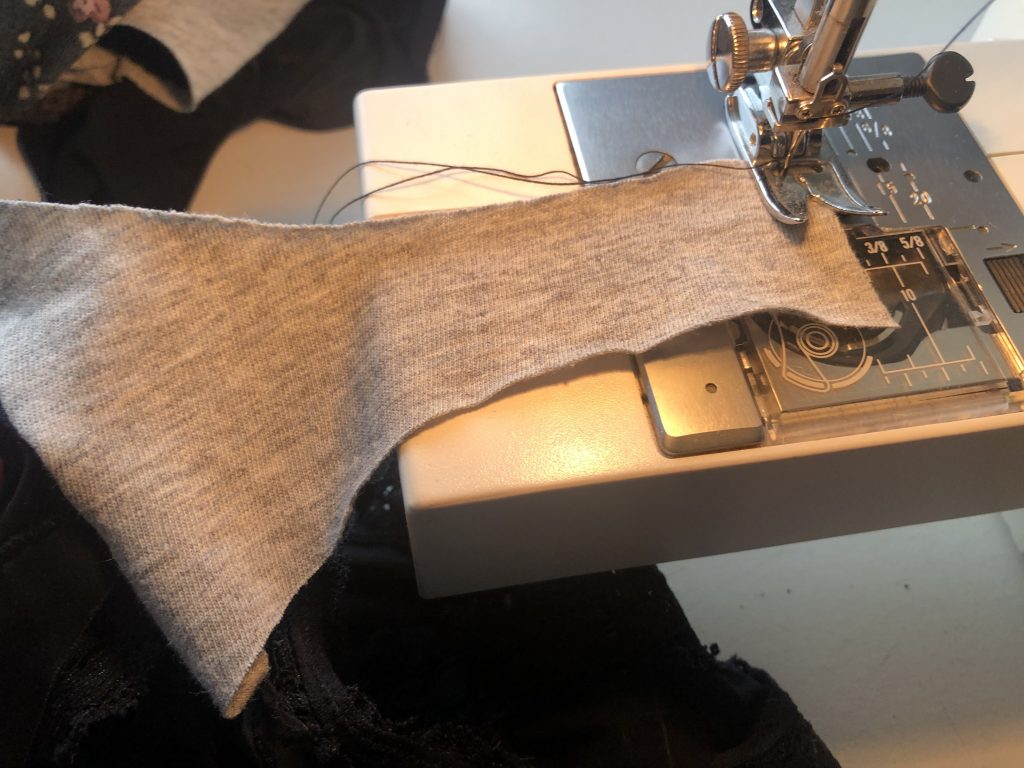
Taking your cotton jersey fabric, line the top wider edge of the piece up with the seam in your knickers that joins to the area of fabric that covers your bottom (this is where the original gusset would have been attached). Pin the jersey fabric to the pants along the top line of this seam so that when the fabric is folded back over, it will be covered.


Either using your sewing machine or a hand-stitching needle, sew a straight line along this top edge where you have pinned. If using a sewing machine, remember to reverse stitch at the start and end of the line. Using a slightly longer stitch setting than normal can help the tension to be correct on stretch fabrics like these. If you are sewing by hand, it’s best to use a backstitch to make the stitching stronger, you can find a ‘how to’ video on this technique here.
Once you’ve stitched this line, you might want to cut away some of the excess seam allowance and then fold the fabric over so it roughly sits in line with the knickers underneath.


You’ll then do a similar process on the other narrower end of the gusset. This side is a little bit trickier as the other end is already sewn down, so you are not able to lie the fabric totally flat. Find the seam where the original gusset was attached and fold the end of the new gusset so it lines up with this and covers it. You’ll then need to pin just the bottom layer of this fold to the fabric of the knickers below, be careful not to catch any extra bits of fabric when you are pinning.


Once it is pinned correctly in place, you can sew a line of straight stitching in the same way as before, either using a machine or by hand. Again, be careful not to catch any extra bits of fabric as you sew as you can’t get it completely flat. The first time I sewed these I caught a bit of the fabric and created a fold which I then had to unpick. Creating a fold in the fabric won’t damage the knickers but it might make them less comfortable to wear. Once the stitching is done, you can cut away the excess fabric from the seam allowance so that it looks roughly like the image above on the right.


The next stage uses the zig-zag stitch on the sewing machine to secure the two longer sides to the elasticated edge of the knickers. I used the same slightly longer stitch setting as before with a medium width. Line your needle and presser foot up with the elastic edging of the knickers on top of the new gusset fabric and lower. Once secure pull of both layers of the fabric and stitch a line along the edge of it. Keep pulling on the fabric as you stitch, this will help to keep the stretch in the elastic. You can try to follow the ridge of the elastic underneath as a guide for a neater finish. Remember to reverse stitch at the start and end of the line.
This process might be a little harder to replicate using hand stitching as you need to pull on the fabric as you stitch. You could still do this if you pull the fabric in smaller sections and then stitch, pulling and stitching as you work your way along the line. It’s best to try and mirror the shape of the zig-zag stitching by hand if possible, you can use the same backstitch technique you used before but in the zig-zag shape.


Stitch along both edges of the gusset, once you have finished you can trim away the excess cotton jersey fabric on either side to neaten it up and trim away the loose threads. And you have one pair of refreshed knickers!


The gusset on some knickers you own might be attached in a slightly different way to this. Sometimes they are only attached along the two longer edges and not on the narrower edges on the top and bottom. This could be to speed up production times or to protect the fragile fabric that is used to make the rest of the knicker. The two narrower edges would normally be overlocked if made in a factory. If you are repairing knickers like these at home, you could instead use your sewing machine to bind the edges of the gusset using the zig-zag stitch. Or do a similar stitch by hand, trapping the edge of the fabric and folding it slightly so it doesn’t fray.
The gusset on this pair of knicker was attached on one end and loose at the other. In this case, I attached the wider end as before and then zig-zag stitched the narrower end. You can then stitch down the two longer sides along the elasticated edges like before.