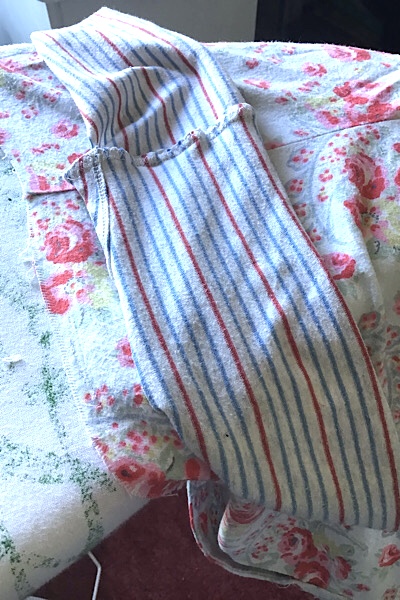
I’m ashamed to admit I bought these pyjama bottoms 4 years ago. I didn’t try them on until I got home and soon realised the waist was too small and I couldn’t get them over my hips. I didn’t get round to returning them within the 28 day limit and they have sat in my mending pile ever since. Sound familiar? It was time to fix them!
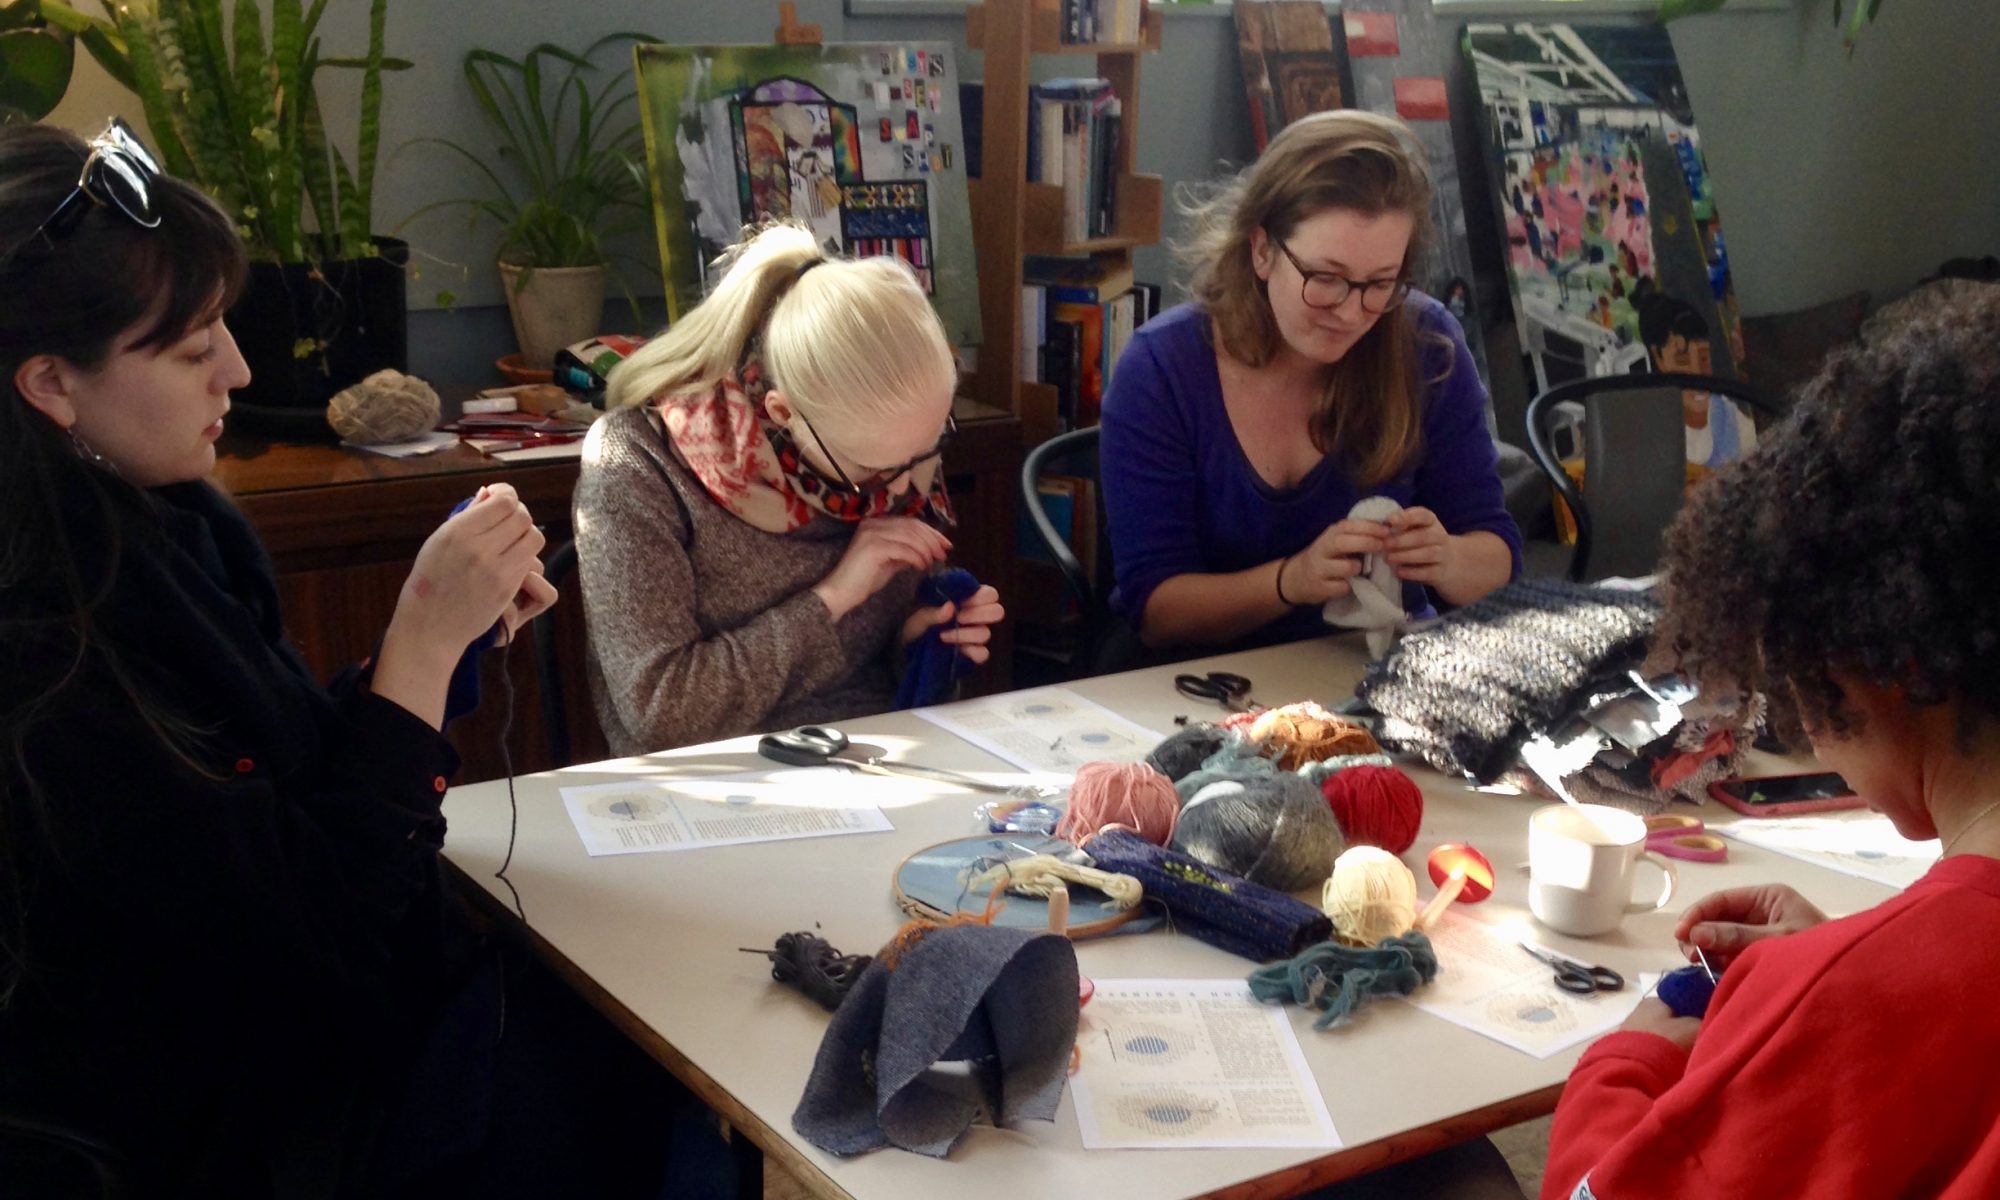
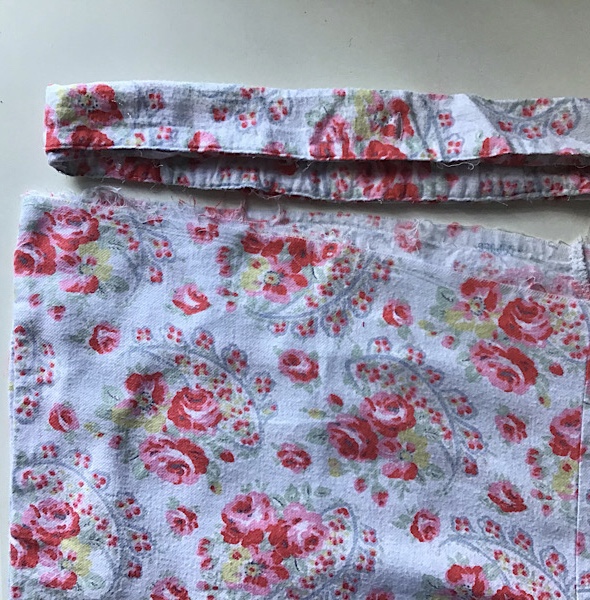
I started unpicking the stitching on one of our virtual mending socials and forgot to take a ‘before’ photo but they had a couple of pleats tucked into the waistband. This gave me extra width to work with. I unpicked the waistband from the main body of the trousers using an seam ripper or unpicker. As I unpicked the stitches the pleats lay flat. I tried the PJ bottoms on and they easily fitted over my hips.
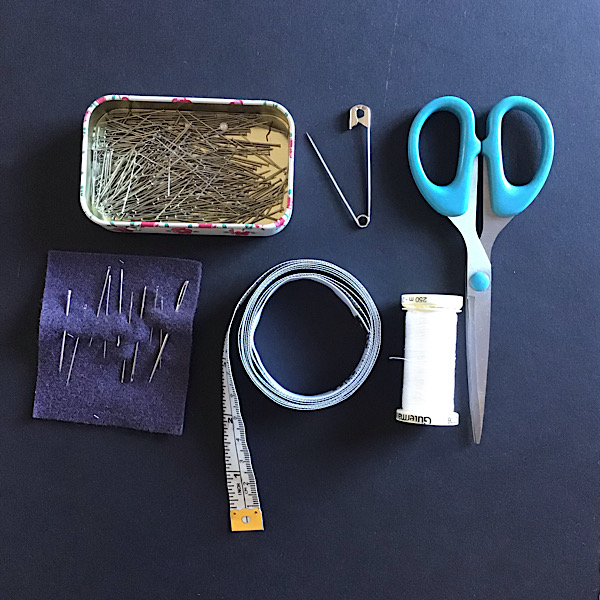
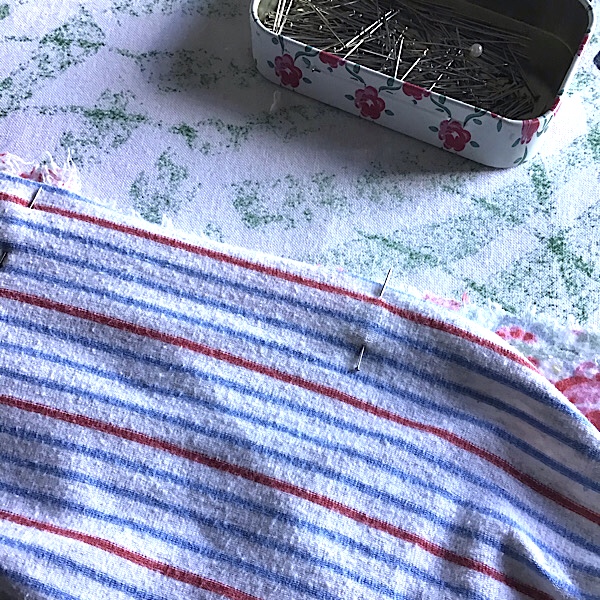
Equipment needed for this fix: Dressmaker pins, sharp scissors, sewing thread, sewing needles or a sewing machine, tape measure, iron, ironing board and an unpicker (not in photo).
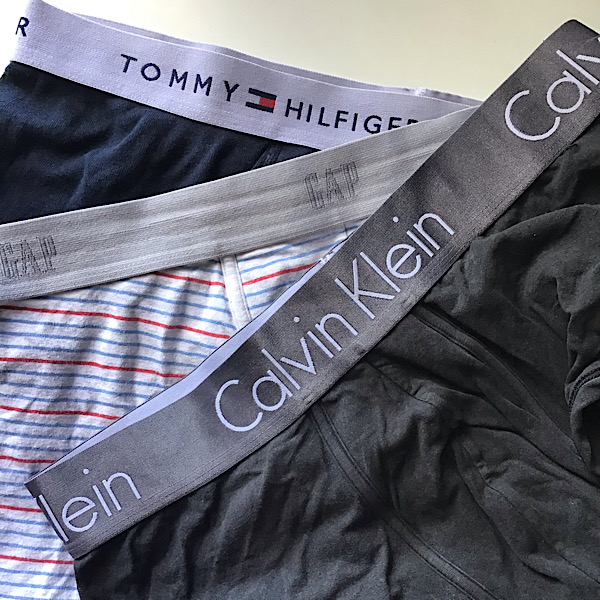
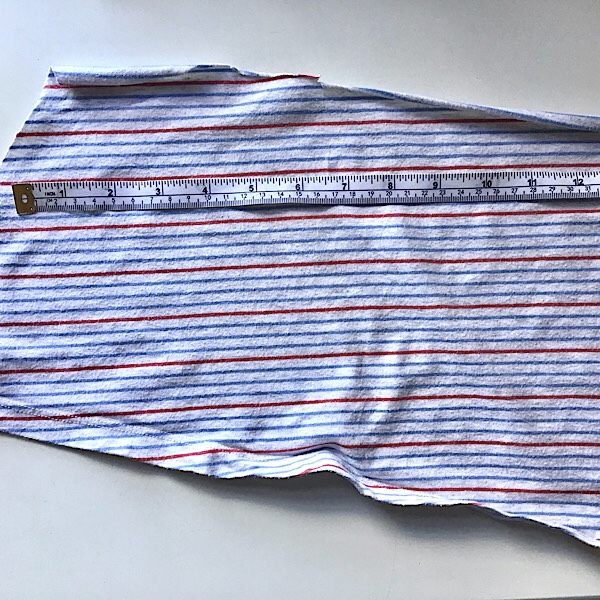
I was looking for a soft fabric to replace the waistband to give extra comfort. My husband no longer wanted some of his boxer shorts as the fabric had shrunk after many washes. What a great resource of fabric and elastic! The colours of the stripe pair worked well with the colours on my pyjama bottoms.
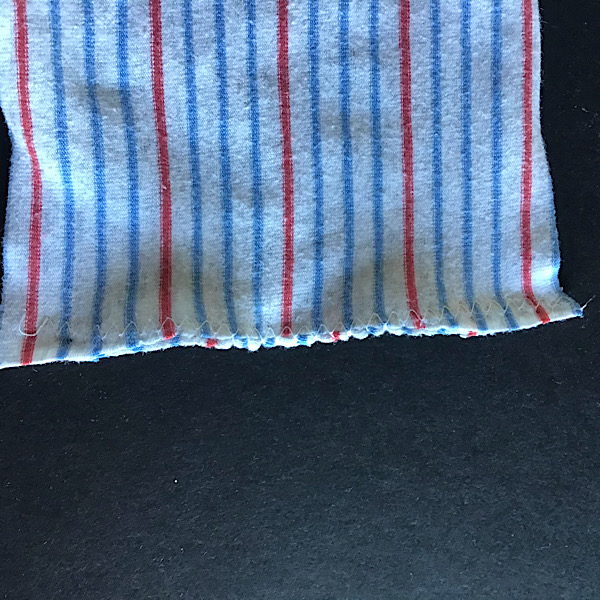
I cut the elastic off the top of the boxers and then cut around the stitching at the front opening of the boxers. It created one long piece of jersey fabric with no seams. Perfect!
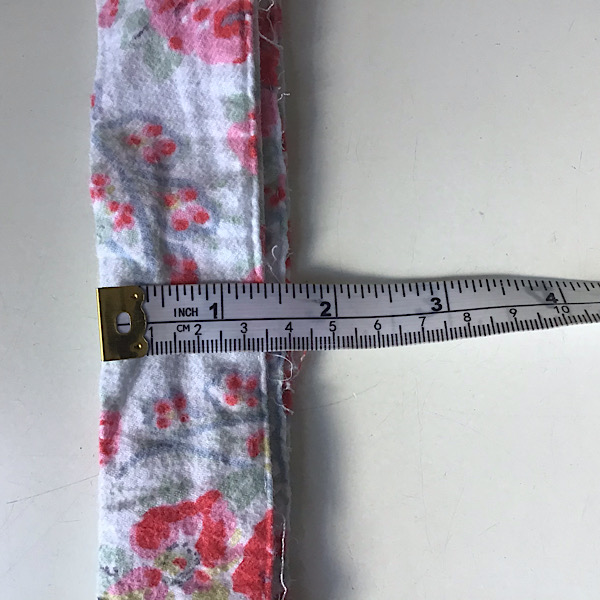
I measured the depth of the original waistband and also the new elastic from the boxers that I was going to be using. The elastic was slightly deeper than the original waistband so I used the elastic measurements. I doubled this measurement and added 2cm to the depth (seam allowance to attach to the pyjama bottoms). E.g. 5cm depth x 2 = 10 + 2cm seam allowance = 12cm deep.
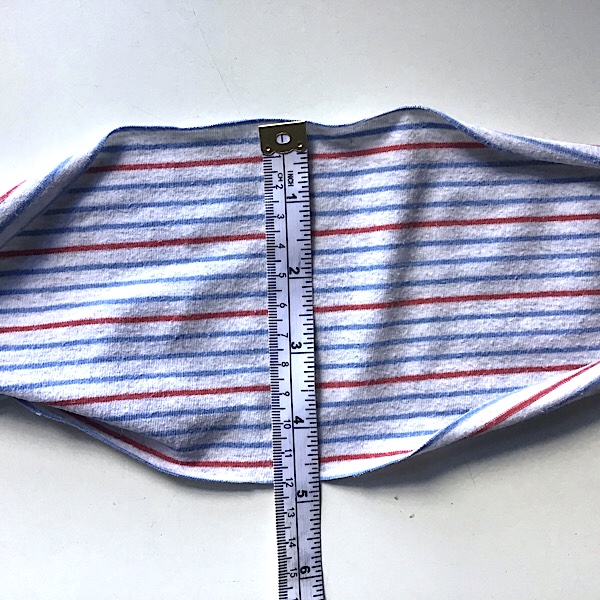
I measured the waist of the PJ bottoms with the tape measure. They will be too big but I am going to add elastic later on to draw them in. I used the same measurement along the length of the boxer short fabric. The fabric wasn’t quite long enough so I measured 12cm depth of the waistband and cut two lengths from one end of the fabric to the other.
I stitched these two lengths of fabric together using a zig-zag stitch (right sides together, facing each other). Jersey fabric likes to be able to stretch and using a zig-zag stitch (by machine or hand) gives it flexibility. I now had a piece of jersey long enough to fit around the PJ bottoms. I measured it against the waist measurement I had made earlier and added 2cm for seam allowance. I cut the waistband to this measurement.
I sewed the two ends of the new waistband together using a zig-zag stitch. Match the two short ends, right sides of the fabric together. The seam that I made earlier was showing, wrong side out.
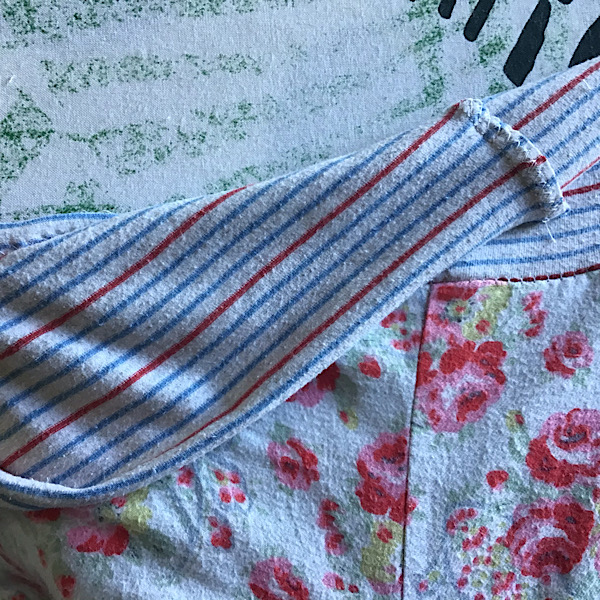
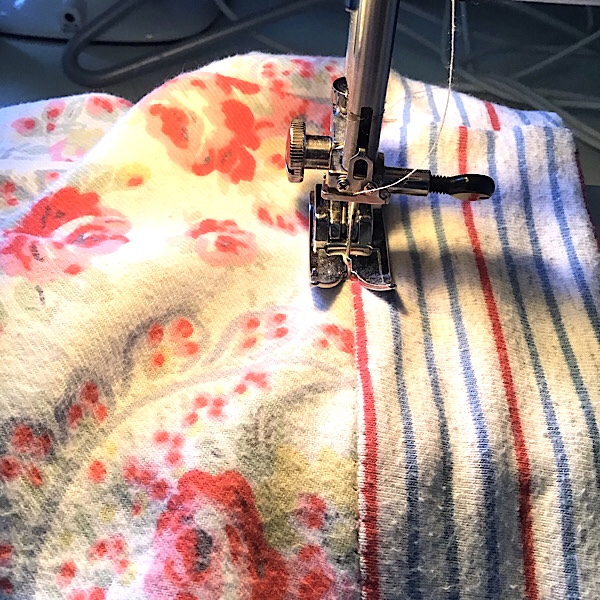
One of my favourite pieces of equipment for sewing is an ironing board. It is useful for cutting out long lengths of fabric and for this part of the process, it is a good height to pin the waistband to the PJ bottoms. I placed the opening of the PJs over the end of the ironing board, laying it flat (give it a press if needed). Starting on the back centre seam of the PJs and working on the right side. I placed the long edge of the waistband to the edge of the PJs, right sides of the fabric together.
I used pins to keep the waistband in place. I moved the PJs around the ironing board until reaching the centre back seam, where I started. Placing the pins vertical makes it is easier to remove them as you sew and unlikely to break a needle if you miss one. Because the jersey stretches, I was able to ‘ease’ the waistband to the waist of the PJs. If it is too big then make a small pleat. Once the elastic is added it won’t show. If the waistband is too small then stretch it to fit the PJ bottoms. If it is very small then another piece of fabric will need to be added into the waistband.

I stitched the waistband to the PJ bottoms using a 1cm seam allowance and a zig-zag stitch.
Back to the ironing board and I pressed open the seam I had just created. Tucking the raw edges up towards the waistband. This will be hidden in the next step
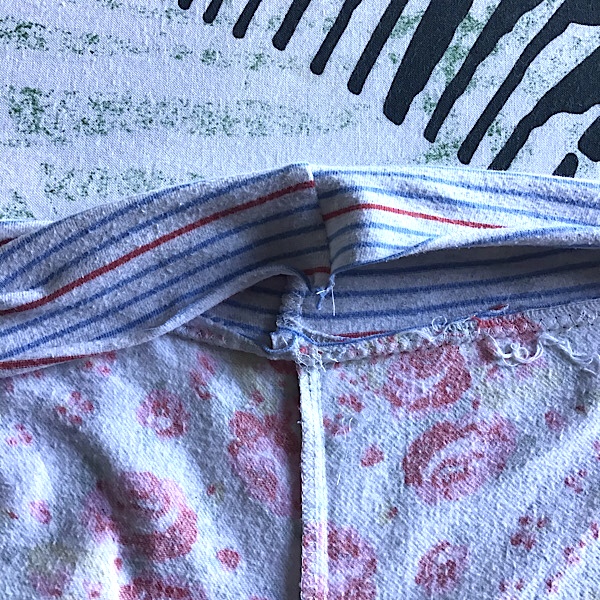
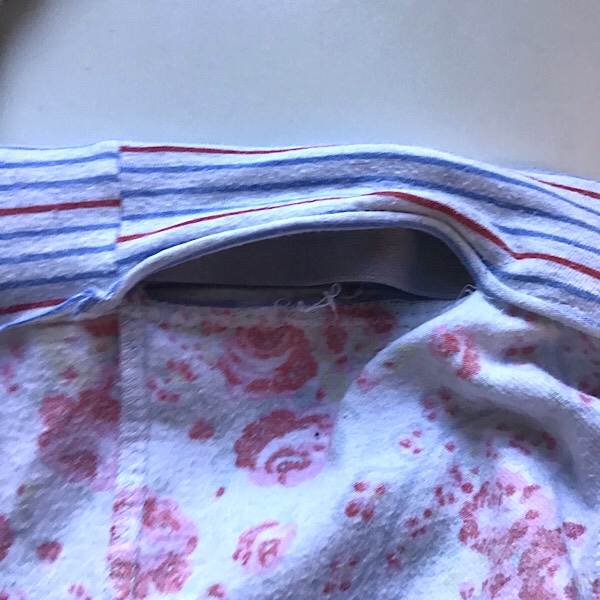
Working on the wrong side, I folded the waistband in half, front to back, so it covered the line of stitching I had created by 1cm. Pin in place working around the waistband. It is important to not sew a gap of about 8cm. I like to use the back seam as a marker but it can be anywhere. Add two pins adjacent to each other at either ends of this gap to remind you to stop stitching at this point. We need this gap to insert the elastic.
Working on the front, I used a technique called ‘stitch in the ditch’ to secure the back of the waistband down but it isn’t visible on the front of the waistband. I lined the needle of my sewing machine up literally in the ditch created by the seam of the waistband and PJ bottoms. If you are sewing by hand then work from the reverse of the garment and use a hem stitch. Don’t worry if the stitching goes off centre, it just takes a bit of practice.
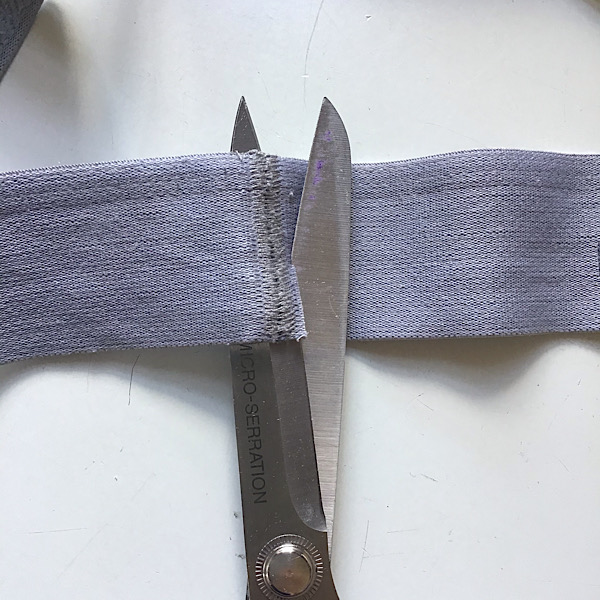
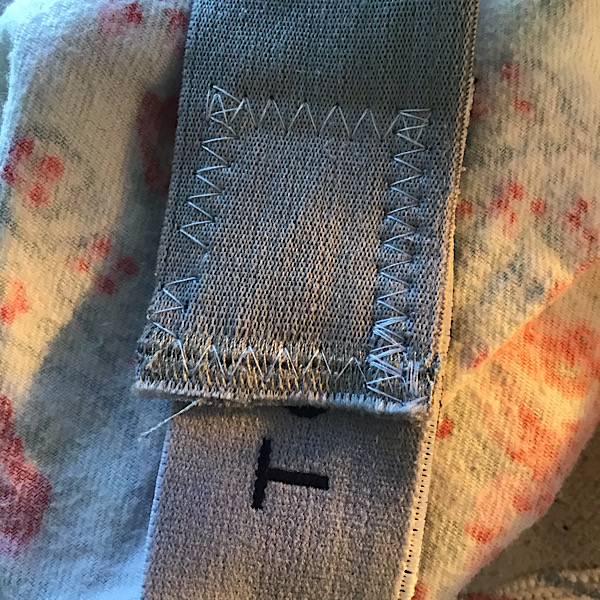
I cut the circle of elastic from the boxer shorts to make one long length. I needed a bit extra so I used some elastic from another pair and stitched them together flat in a square as below. I used a zig-zag stitch to give extra stretch.
Once I had a longer length of elastic, I measured it around my waist. I needed 2cm on both pieces so I can sew them together.
I Placed a large safety pin in one end of the elastic.
I inserted the safety pin and elastic into the gap of the waistband that was missed from sewing.
I pushed it through the waistband until it reached the other end. Make sure you don’t loose the other end of the elastic. Safety pin it to the fabric of the PJs to be sure.
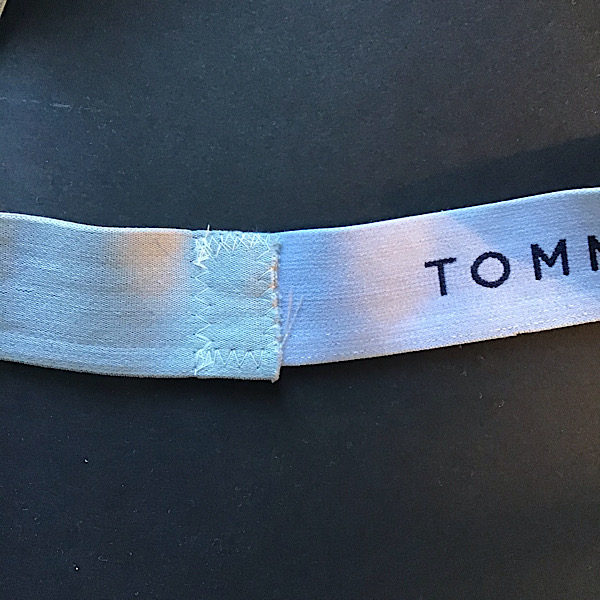
I pulled both ends of the elastic out of the waistband and pined them together using the 2cm seam allowance on both pieces. Lay them flat and make sure they are not twisted in the waistband. Re-pin them if the elastic is twisted. Using the same method as I did to fix the two pieces of elastic together, sew a square using a zig-zag stitch.
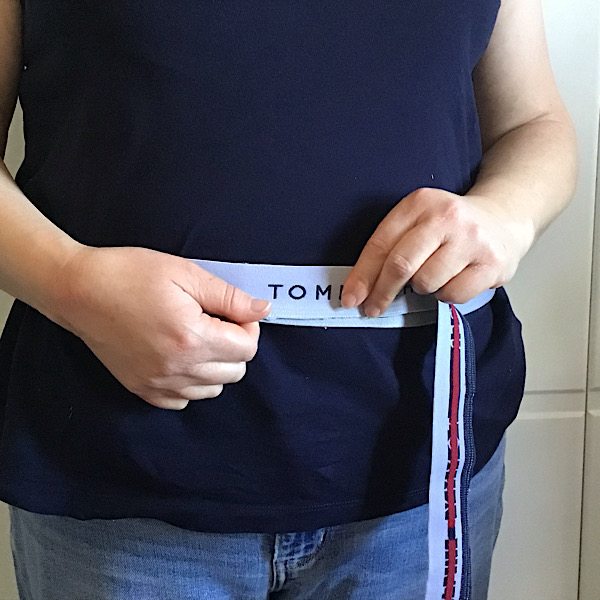
Tuck the elastic into the waistband. Press the waistband flat with a light steam and not pressing too hard. Try the PJs on before you sew the waistband. Mine were a bit loose so I cut the elastic at another point and stitched it together again using the above method.
I pinned the opening of the waistband in place and stitched from the front as I did previously. If you miss any bits of waistband, just go over them. It won’t show once the elastic gathers the waistband together.
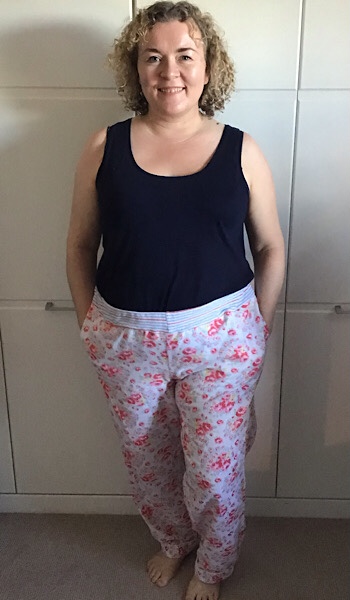
I’m so happy with my new PJ bottoms! After 4 years of them sitting in a pile it is really satisfying to be able to finally wear them and they are super comfy! This method can be used to alter a waistband to any trousers, shorts or skirt as long as they have pleats to give a bit of extra fabric. Or if you have some that are too big then this method will gather the waist in.