Overstitch is a simple and effective hand sewing technique. It is really useful when it comes to mending clothes. The stitch can prevent fraying, hold two pieces of fabric together or useful for patching.
Watch our video on how to sew an overstitch
Examples of using an overstitch
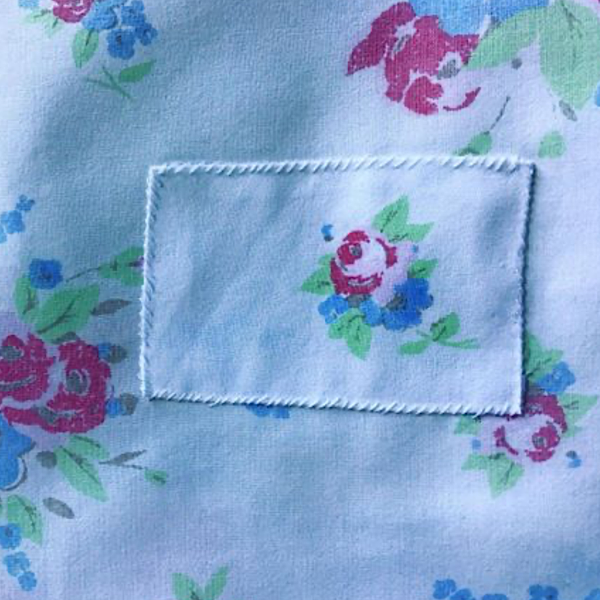
Repairing a rip on a pillowcase by cutting a square of fabric from inside the pillowcase
Using a thicker thread and a larger stitch has created a decorative effect when patching this leather bag with faux suede
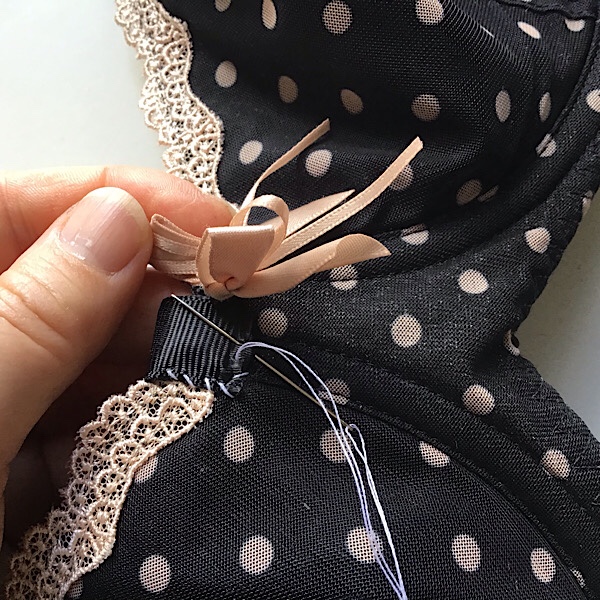
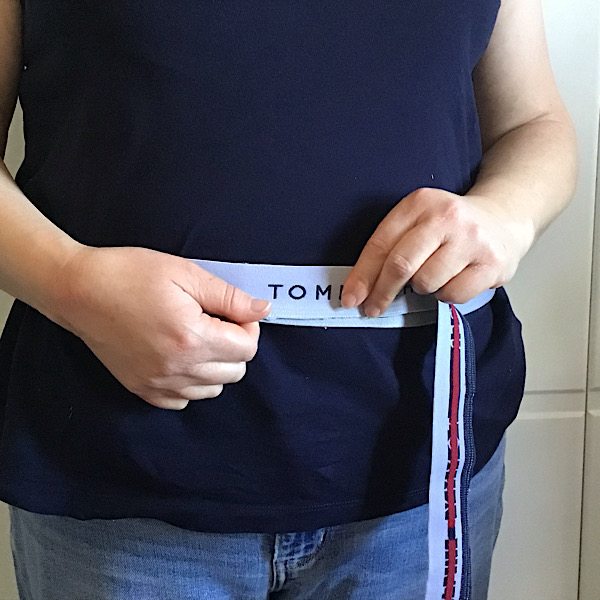
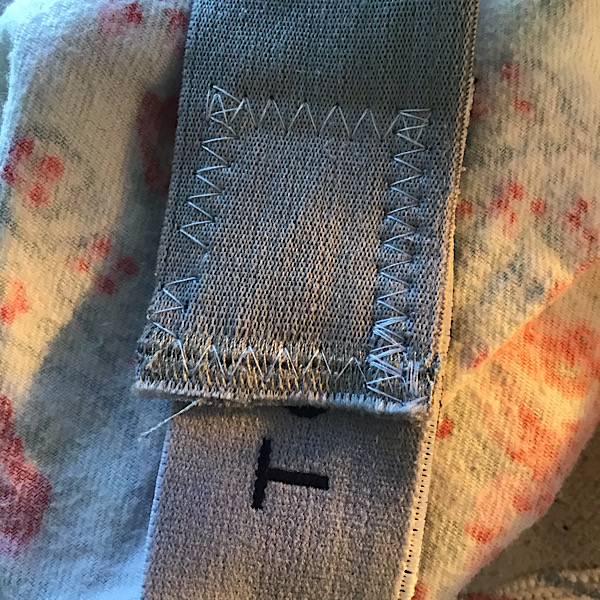
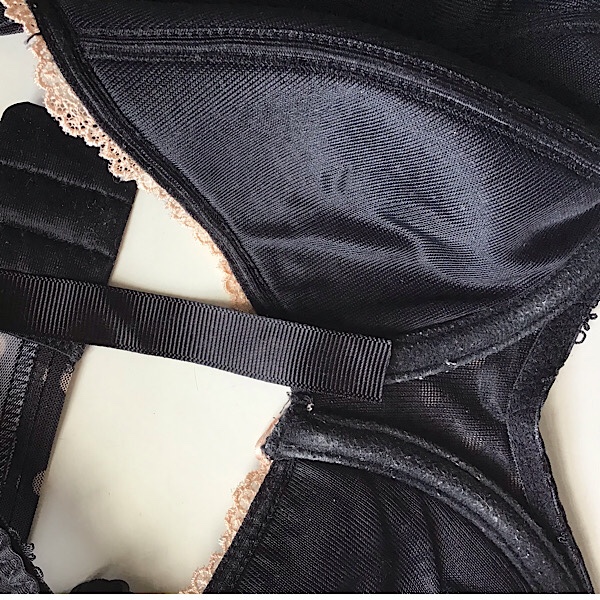
Mending a bra by overstitching a piece of ribbon over the underwire channel preventing the wire from poking out and digging into the skin.
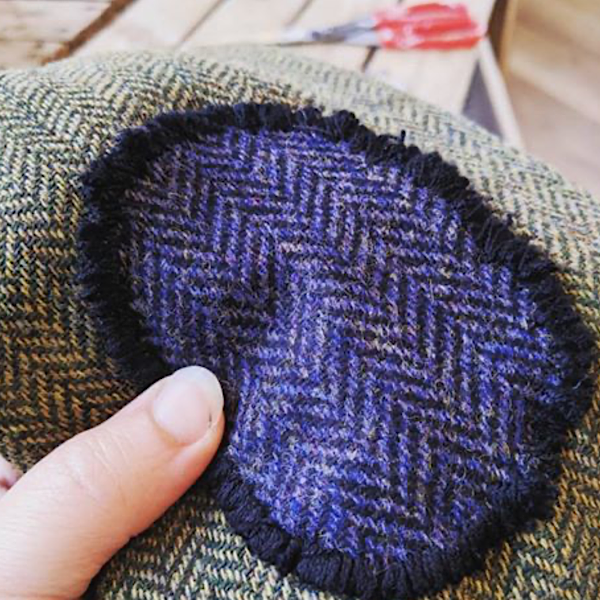
Creating an Elbow patch by using a thicker yarn and sewing the stitches very close together. Georgina from Pebble Magazine mended her tweed jacket by covering the elbow rib with the patch.
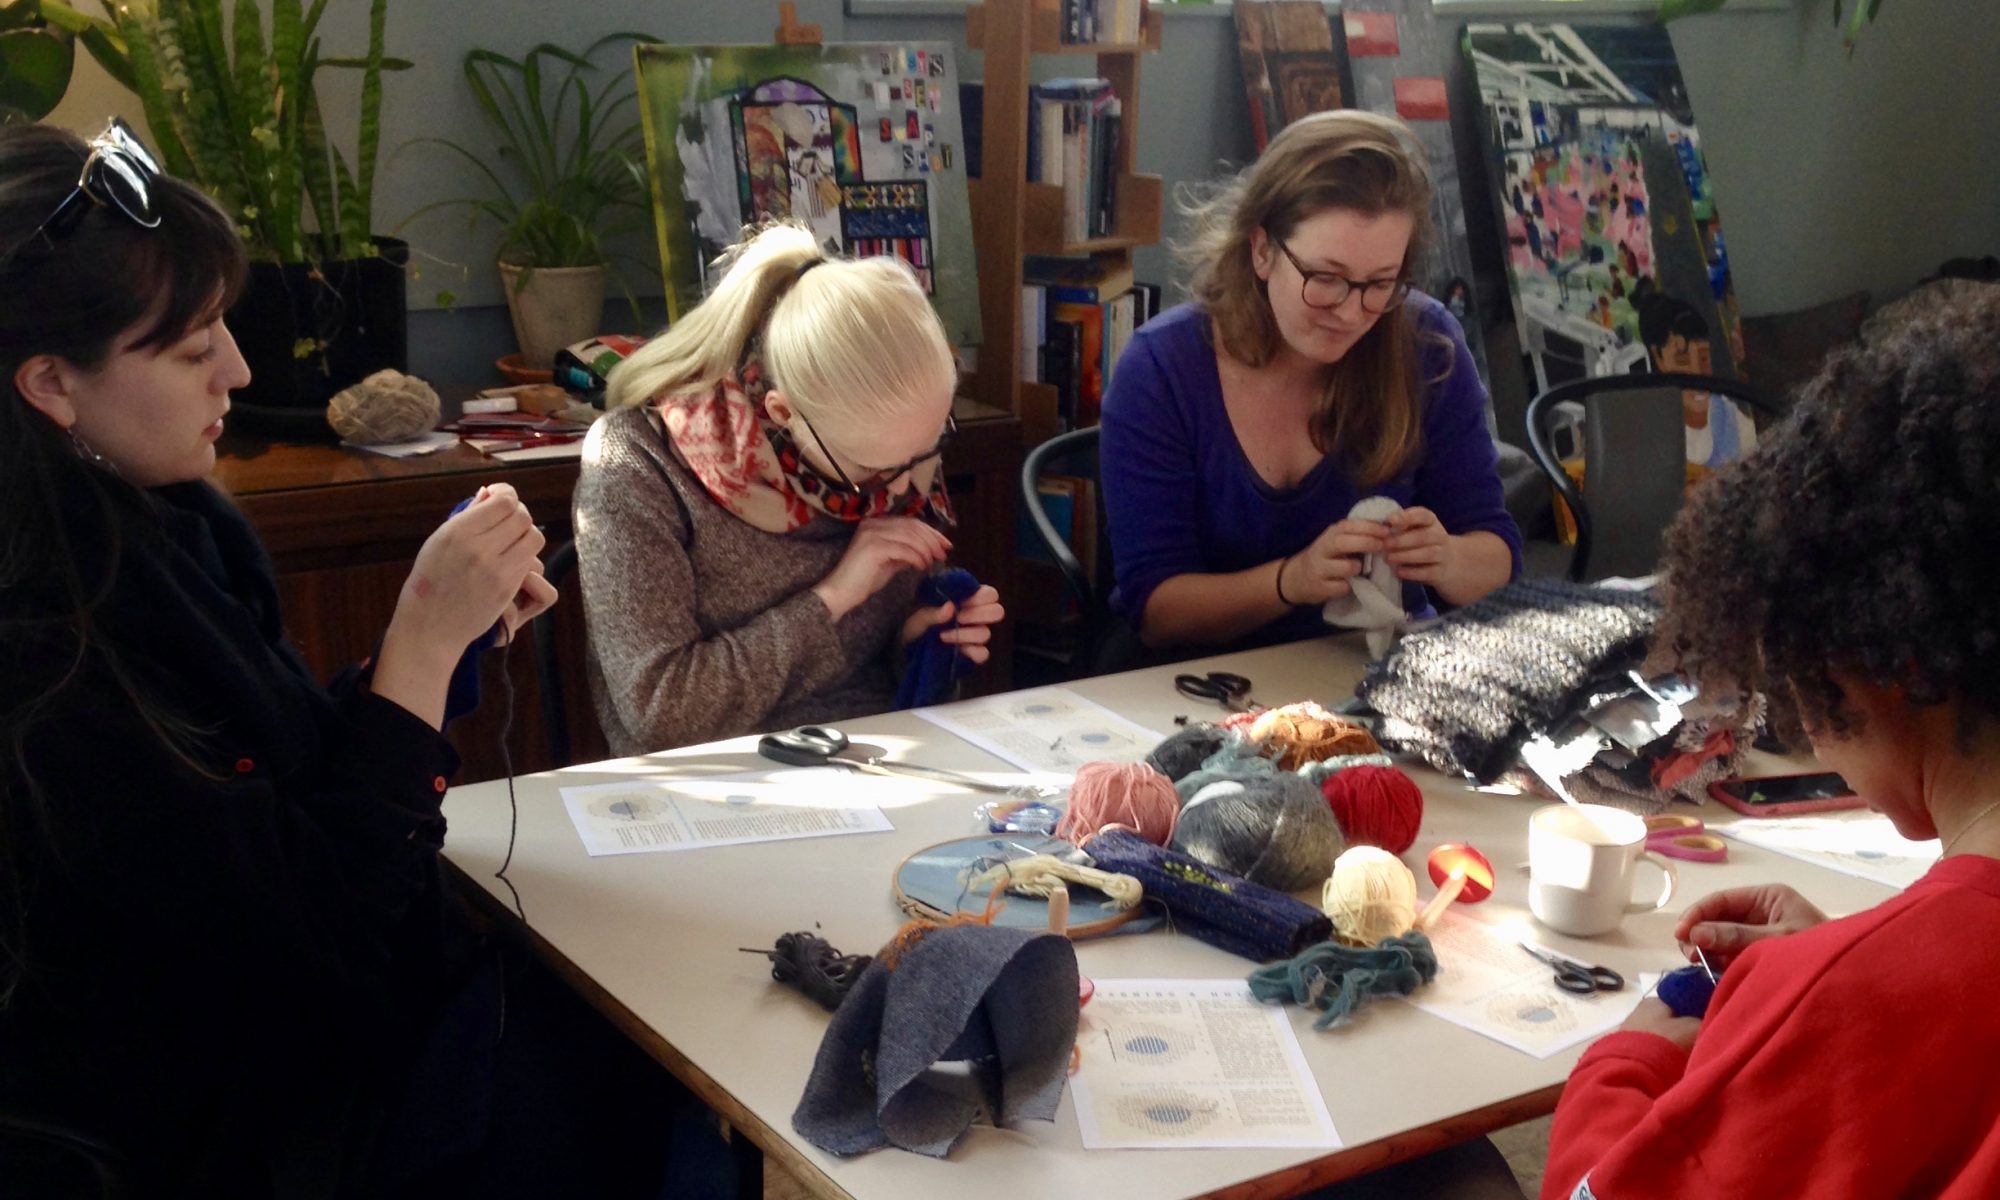
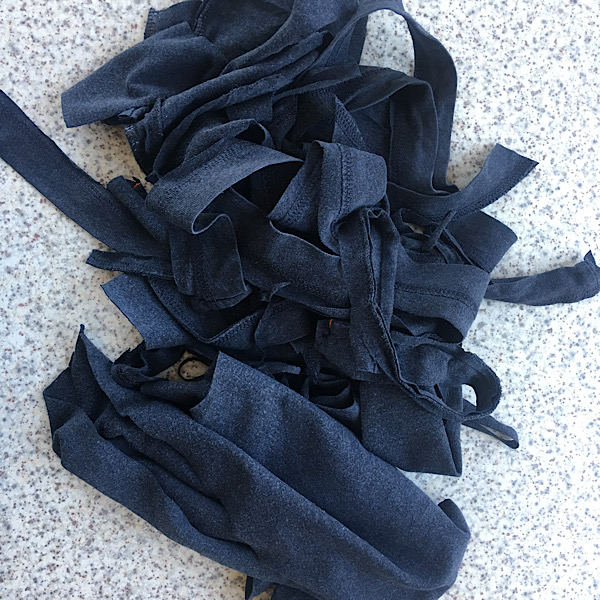
It might be a bit dull being stuck inside on a rainy weekend but on the positive side we caught up with some of our clothes mending. Although we teach clothes mending techniques to others, our own pile of clothes mending seems to get bigger rather than smaller.
First up was a vintage leather bag that’s suede outer casing contained some very big holes and tears. I patched the holes with scrapes of faux suede left over from industry waste. I used a large over stitch with a thicker thread to create a decorative effect. I’m really pleased with the result and think the mend adds to the texture and design of the bag.
Next up is a favourite dress that I managed to get bleach on. I cut off the bottom and re-hemmed giving it a re-style. We have created a video on how to re-hem trousers, I used the same principle for the dress, although I did use a sewing machine to re-stitch rather than hand sewing.
Lastly, I took in the waistband on a pair of casual trousers. The fabric was quite fine so it was simple to do. I put on the trousers, pinned where I need to take them in and made sure it was even on both sides. Working from the outside I used a sewing machine to top stitch a line on the new seam I had created. I used a matching thread so the stitching is only visible from the outside. This only works to take in a waist a few cm on each side. Any more than that and it will distort the main body of the trousers.
If you are looking for specific clothes mending advice then please get in touch and we can arrange a 1:1 clothes mending session with you for a small fee. Or join one of our free zoom workshops.
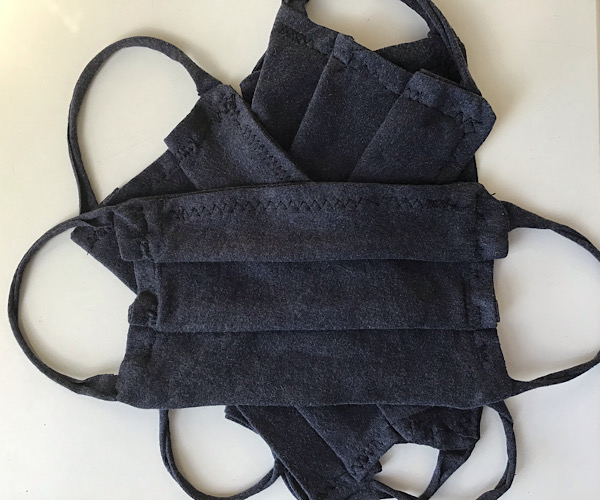
In a previous blog we shared our favourite mask tutorials as recommended by attendees of our workshops. In this ‘how to’ blog we want to show how to turn an old t-shirt into a collection of face masks.
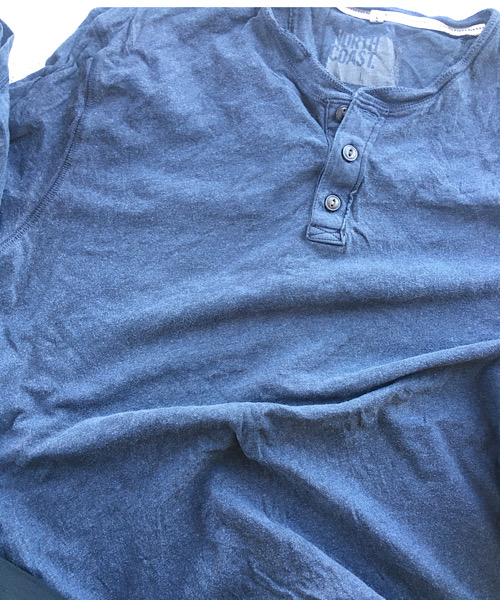
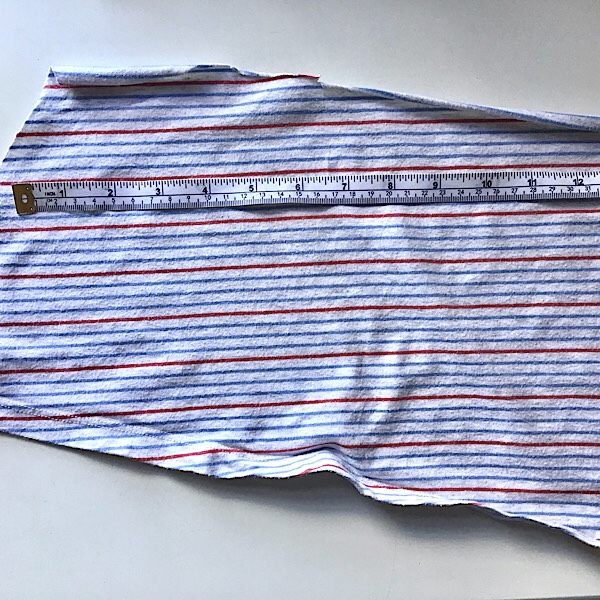
We’ve used a large men’s unwanted T-shirt.
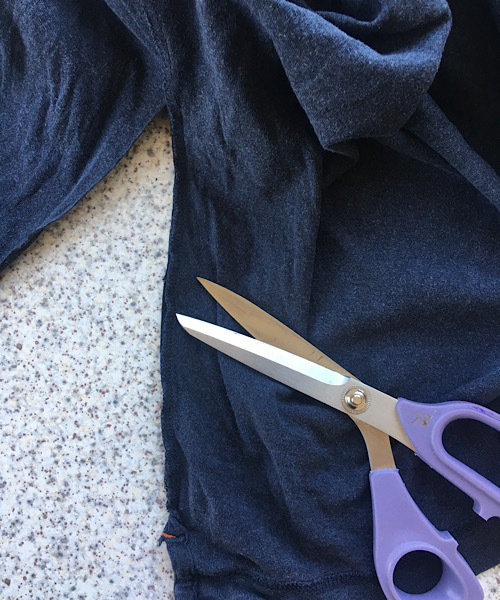
We cut around the seams to create larger, flat pieces of fabric. We saved the buttons from the placket for another project.
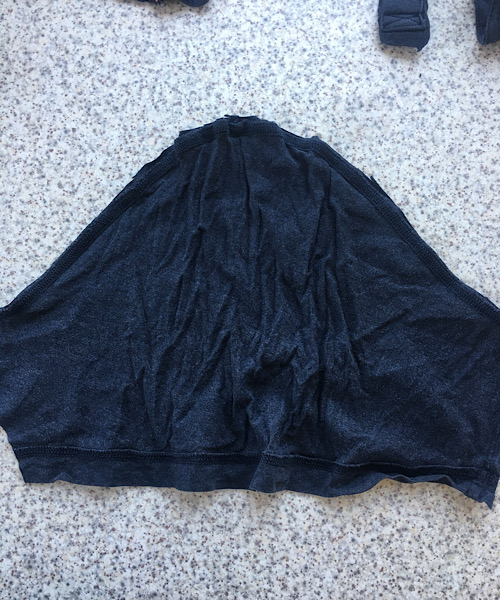
We then ironed the fabric flat, smooth out the creases to make it easier to cut out the shapes for the masks.
There are so many great patterns and videos out there demonstrating how to make masks we haven’t done our own one. But what we have done is pulled together our favourite videos and those recommended by our workshop attendees.
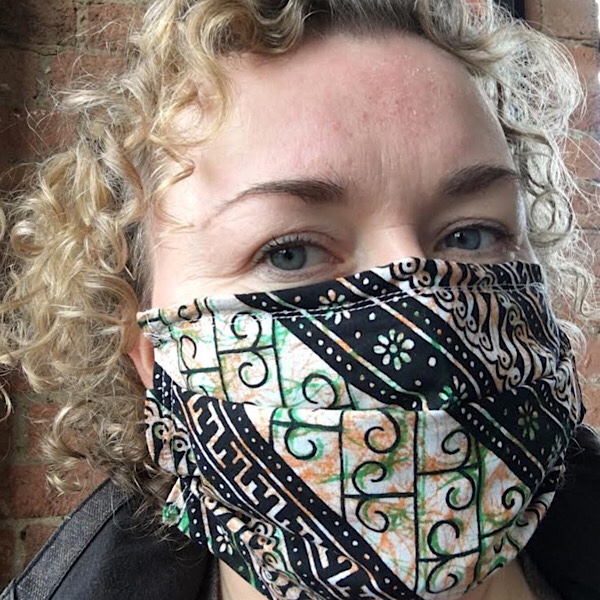
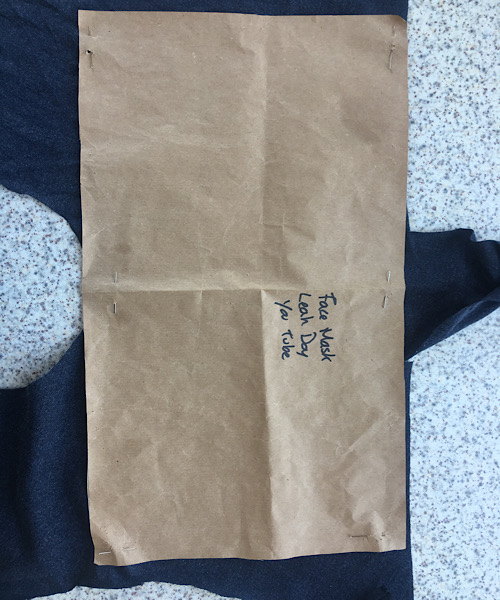
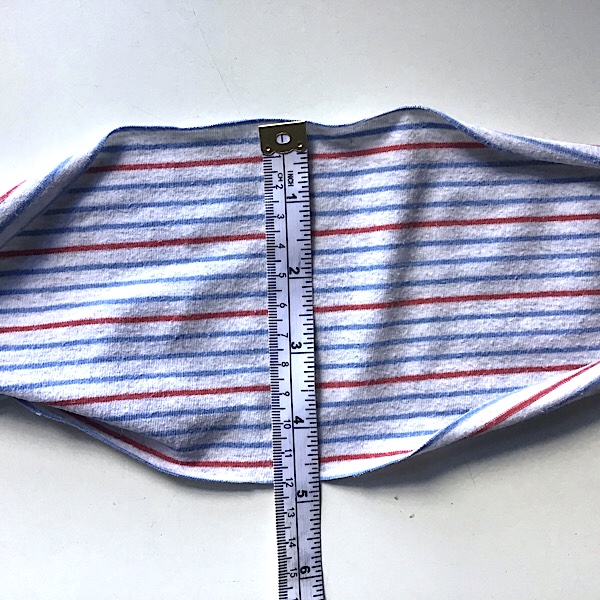
For these masks we followed the Leah Day tutorial. We’ve made lots of these masks so we already had a paper pattern ready, created from the measurements given. Making a paper pattern speeds up the process rather than measuring out the squares each time.
We laid the pattern flat on the fabric and pinned around the corners and edges before cutting. We managed to get 5 mask patterns from one T-shirt.
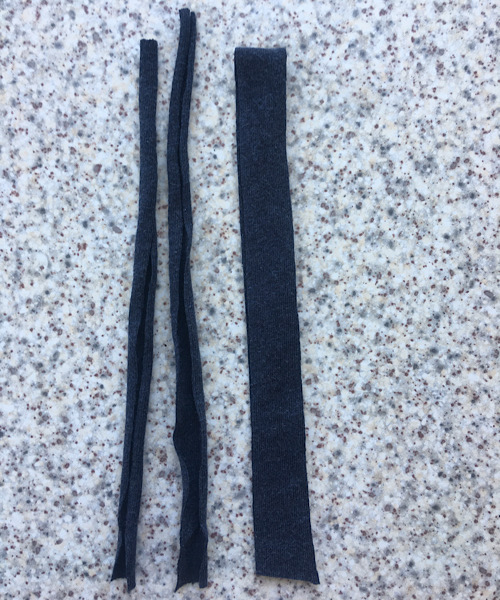
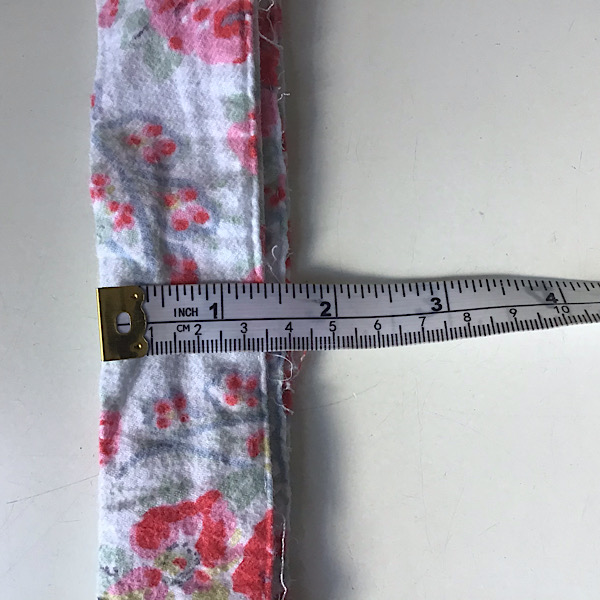
Instead of using elastic to hold the mask around the ears, we cut thin strips of the T-shirt fabric. We used a piece of ribbon as a pattern, cutting it to the required length. Pinned the ribbon to the T-shirt fabric and cut 10 strips (5 pairs).
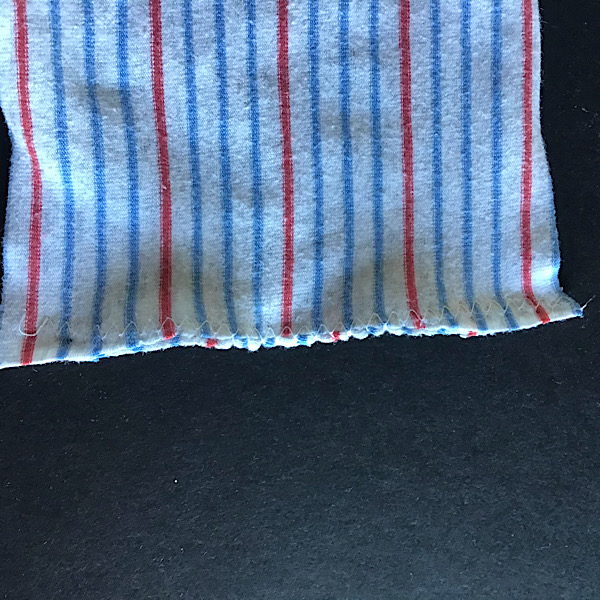
Once cut, we pulled the short ends of the strips gently away from each other. This caused the ends to curl in on each other and now work perfectly to hold the mask on around the ears, in place of elastic. Jersey doesn’t fray so the edges don’t need to be hemmed or finished with a zig-zag stitch.
The leftover pieces, too small to make a mask, have been saved for future projects. T-shirt fabric is useful for patching leggings, T-shirts and other stretch clothing.
We found that using a zig zag stitched worked best on the T-shirt fabric. We also used a jersey needle for our machine. Another tip: we used a purple thread for the bobbin so one side of the mask has a different colour thread. This is so when you wear it and take it off briefly, you know which way it was so it can be worn in the same way.
We recommend for the masks to only be worn at a few hours before being washed. Or if it has been worn for a length of time. For example, when we are travelling on the train, we wear one mask and then put it in a draw string bag at the end of the journey. We then wear a clean mask for the return journey home. We keep our clean masks in one bag and carry a spare bag for the dirty masks. Then wash the masks and bag in hot soapy water once we get home. Click here for details on how to make bags for your masks.
Important to note
All the videos note that the masks are not suitable in a clinical setting. Wearing a mask is required in the UK for shopping and travelling on public transport. They could possibly stop the wearer spreading the virus to someone else but they probably do not protect the wearer from catching the disease. The mask must be washed after each wear. Place the mask over your mouth and nose before leaving home. Do not touch your face or remove the mask whilst out and about. Wash your hands thoroughly before touching your face to remove the mask. Place the mask in a drawstring bag and wash them both on a hot soapy wash.
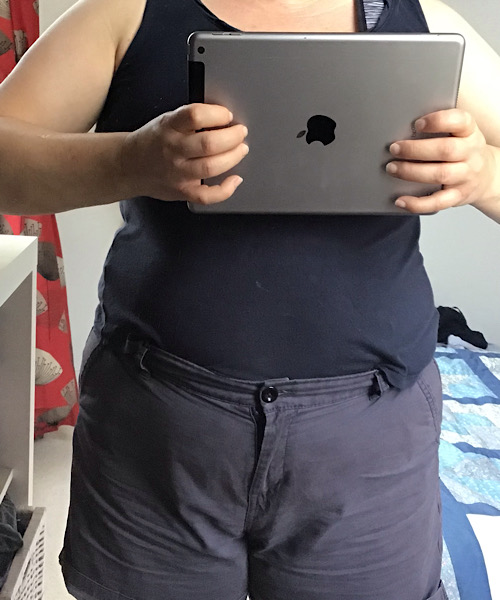
With a round tummy area, I often have a problem that my shorts and trousers are too small around the waist. These shorts are not too bad when I am standing up but when I sit down the button flies off, even when I have sewn it on securely. With the hot weather we have been having I needed to make these shorts fit more comfortably. Here is what I did…
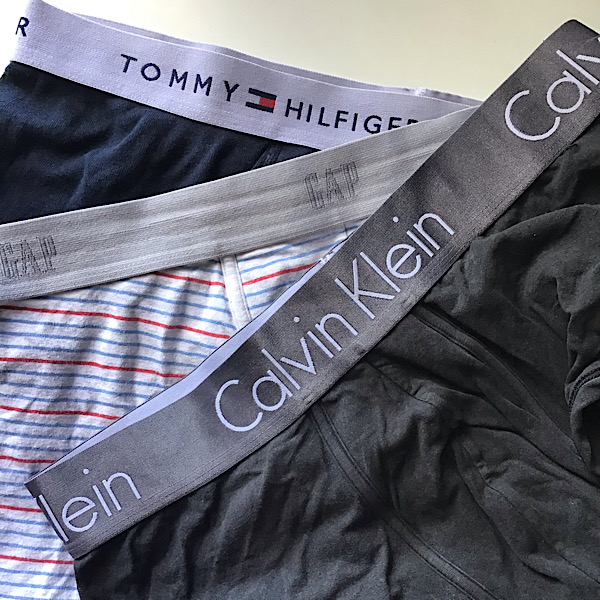
In a previous post, I cut the elastic off some worn out men’s boxer shorts. I still have quite a bit of the elastic left. I cut two pieces each measuring 6cm in length. Leaving the width as it is (it will fray if cut).
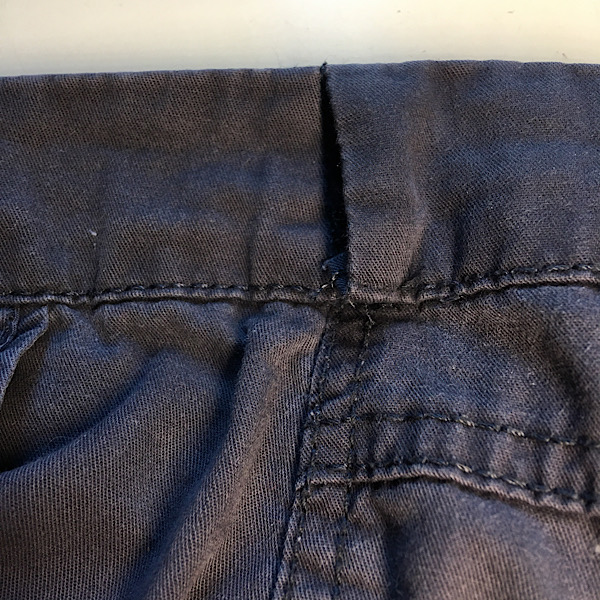
On the front of the shorts, the waistband had a stitched side seam. This was easy to unpick with some sharp scissors and an unpicker (seam ripper). I unpicked both sides.
I wasn’t able to unpick the waistband on the reverse as it was one piece of fabric. So I cut it with some sharp scissors down just past the line of stitching.
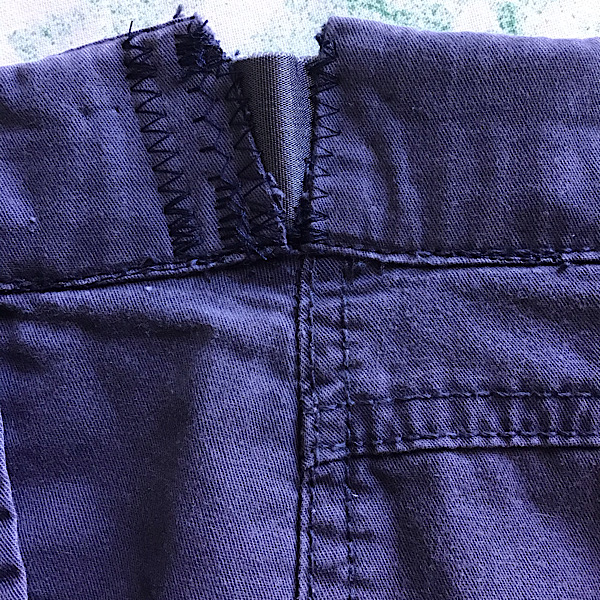
I inserted one piece of the elastic under the channel of the waistband and pinned in place. I repeated this with the other end of the waistband and made sure it lay flat before pinning. Using a zig zag stitch on my sewing machine I stitched down over the raw edge of the waistband side seam, incorporating the elastic. Zig zag stitch is useful for elastic and stretch fabric as it stretches with the elastic. I used a regular running stitch along the bottom edge of the waist band to re-fix the area I had cut.
I then repeated this for the other side of the waistband. So that I had two pieces of elastic inserted on each side of the waist of the shorts. If you don’t have a sewing machine you can replicated the zig zag stitch by hand. It is best to use a thimble as it is a lot of fabric to get through and will make your fingers sore otherwise.
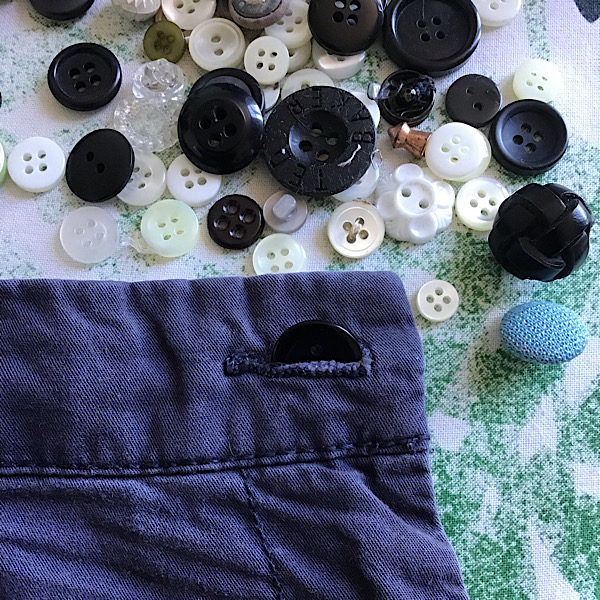
My last job was to sew the button on. I had lost the original button, so I chose one from my spare button jar. Before I sewed the button on, I checked it fitted through the button hole and was large enough to hold the thick fabric of the waistband. Watch our video on how to sew on a button. If you need some odd buttons for your collection, we sell a pack on our Etsy shop.
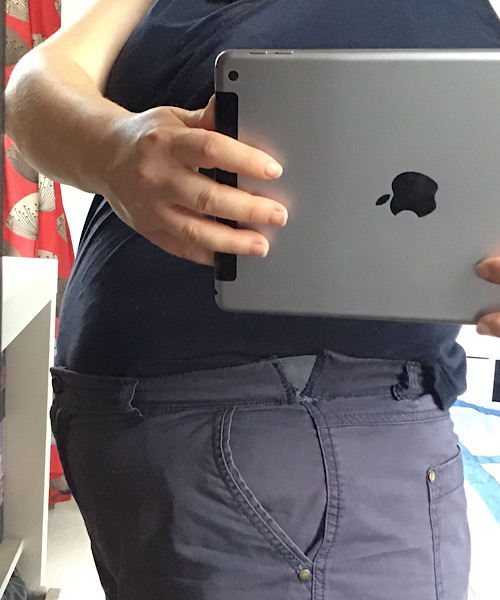
I can now comfortably sit down in my shorts with the button safely in place and they are more comfortable to wear. An alternative way to fix a waistband is to change it completely. In this how to blog post I replace the waistband of some pyjama bottoms. The same technique can be used for any shorts, trousers or skirts.
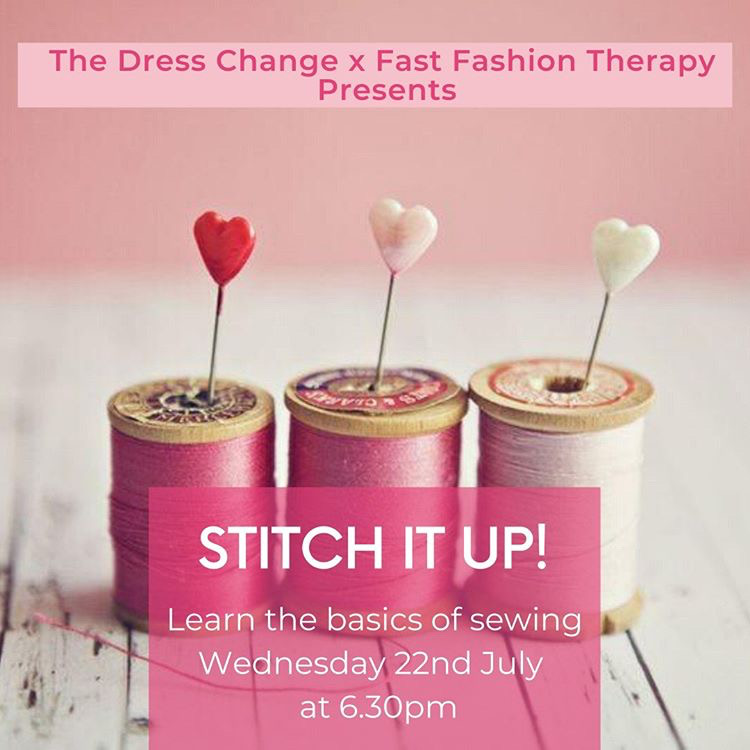
We’re teaming up with @thedresschange next week to bring you an extra online mending session!
As part of their #keepbuyingless series, they’ll be focusing on Upcycling and Mending next week. If you’re new to sewing or just want a refresh of some basic skills, you can join us for Stitch It Up on Wednesday 22nd July at 6.30pm.
We’ll be going through some simple hand sewing techniques so all you’ll need is some fabric to work on (this could be a scrap, an old pillowcase or item of clothing), needle and thread, scissors and some pins if you have them.
We are very excited to be able to hit the charity shops again from this weekend. We often pick up haberdashery and sewing equipment for our workshops from charity shops. Helping to reduce waste and support these fantastic charities.
We shared a couple of our favourite shops with sustainable lifestyle magazine Pebble. Along with many other Pebble readers, creating an exhaustive list of the best charity shops in the UK.
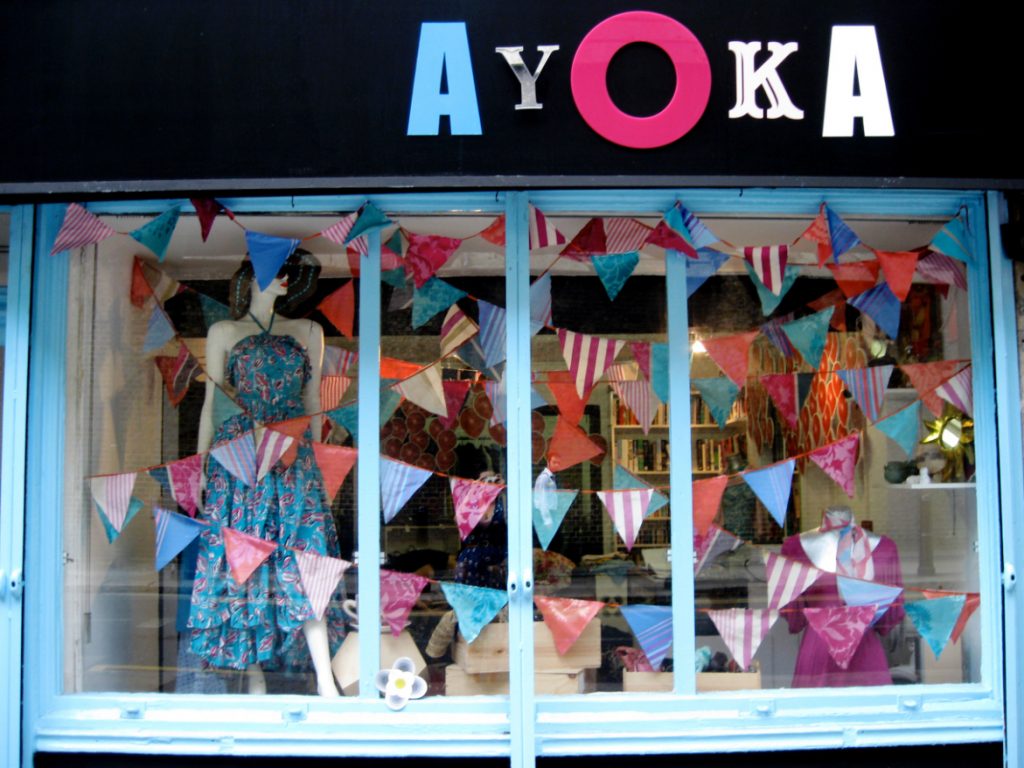
Our friends at Ayoka charity shop in East London save us clothes that are damaged so the attendees of our workshops can practice their mending techniques.
We didn’t get chance to mention the Big C craft warehouse in Wymondham, close to Norwich. A warehouse full of second hand sewing equipment and craft accessories all neatly categorised in baskets.
What is your favourite charity shop? Join in one of our virtual mending sessions to share your tips. Sign up for our newsletter for more information.
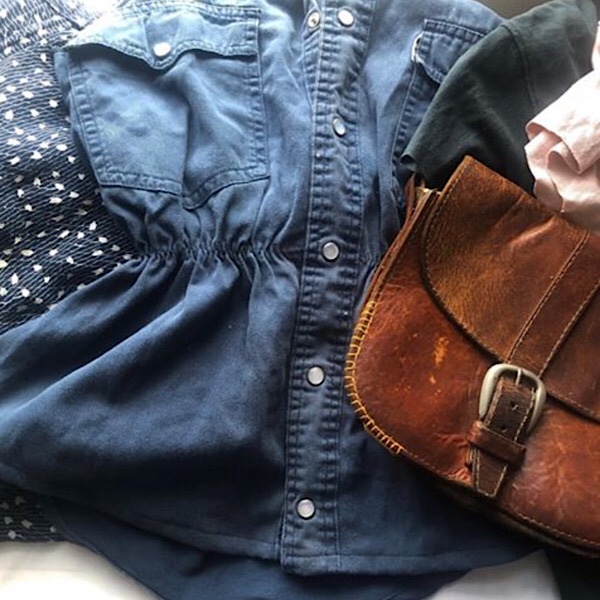
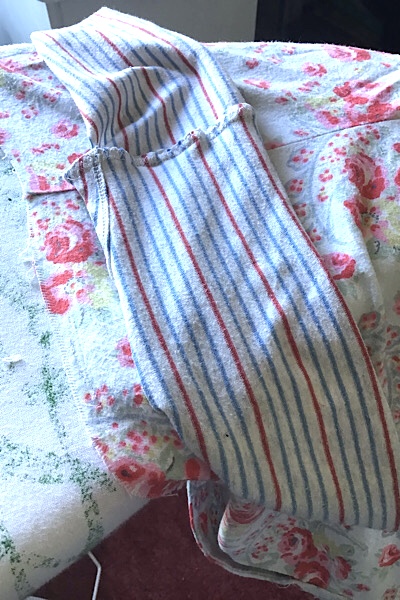
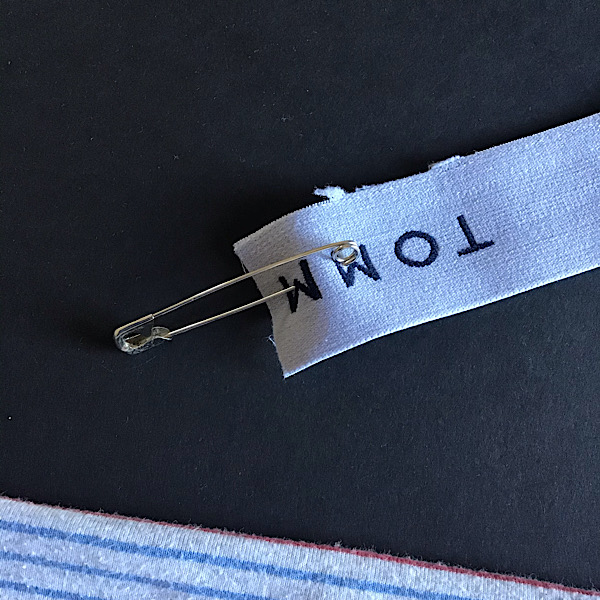
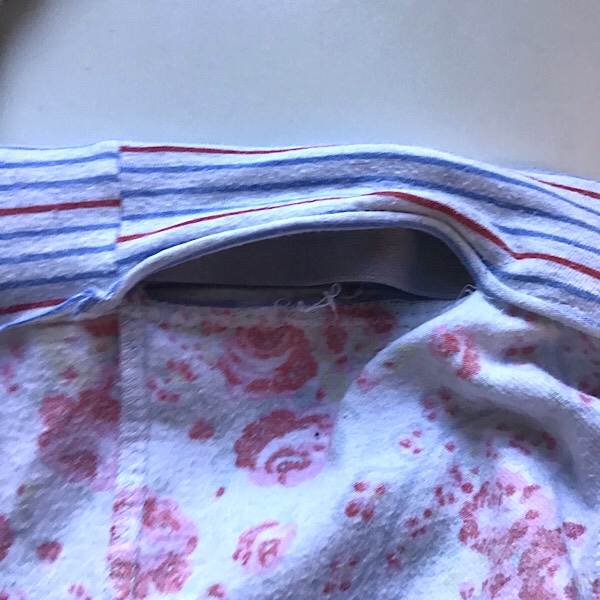
I’m ashamed to admit I bought these pyjama bottoms 4 years ago. I didn’t try them on until I got home and soon realised the waist was too small and I couldn’t get them over my hips. I didn’t get round to returning them within the 28 day limit and they have sat in my mending pile ever since. Sound familiar? It was time to fix them!
I started unpicking the stitching on one of our virtual mending socials and forgot to take a ‘before’ photo but they had a couple of pleats tucked into the waistband. This gave me extra width to work with. I unpicked the waistband from the main body of the trousers using an seam ripper or unpicker. As I unpicked the stitches the pleats lay flat. I tried the PJ bottoms on and they easily fitted over my hips.
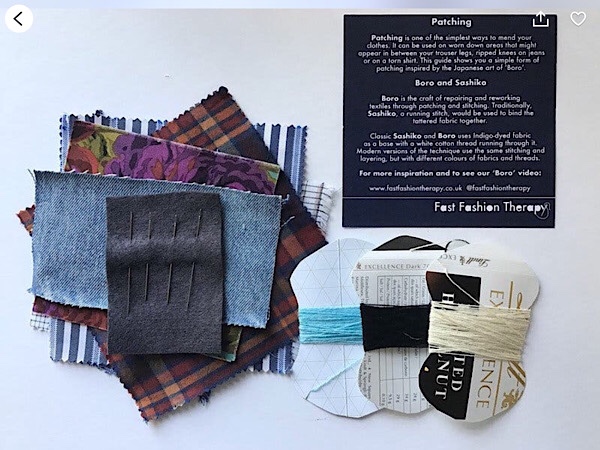
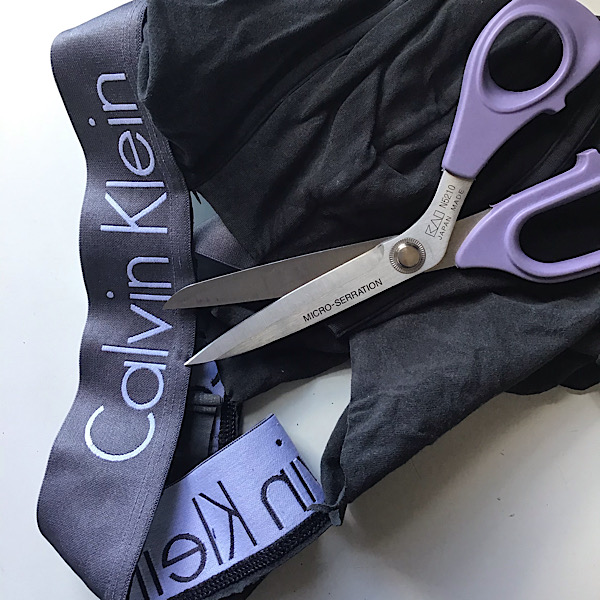
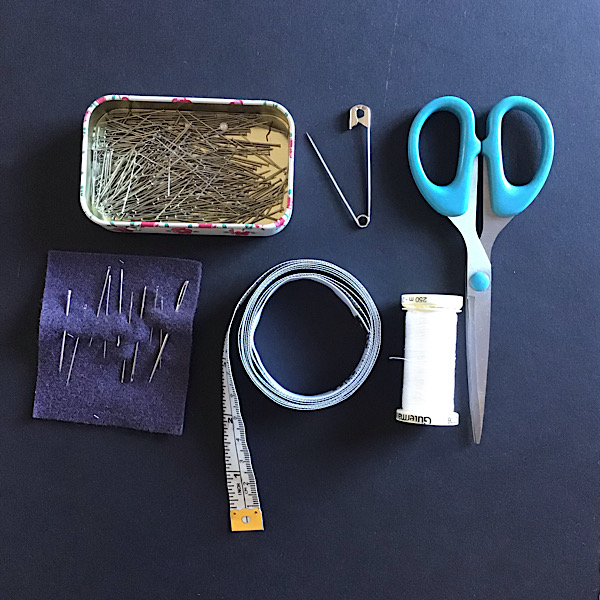
Equipment needed for this fix: Dressmaker pins, sharp scissors, sewing thread, sewing needles or a sewing machine, tape measure, iron, ironing board and an unpicker (not in photo).
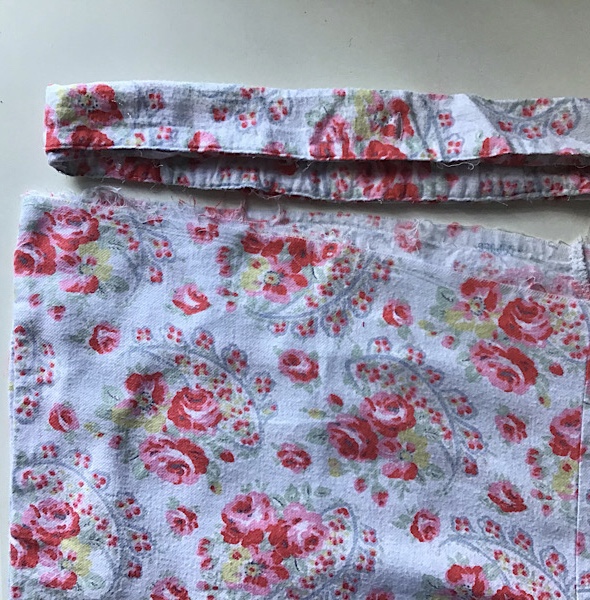
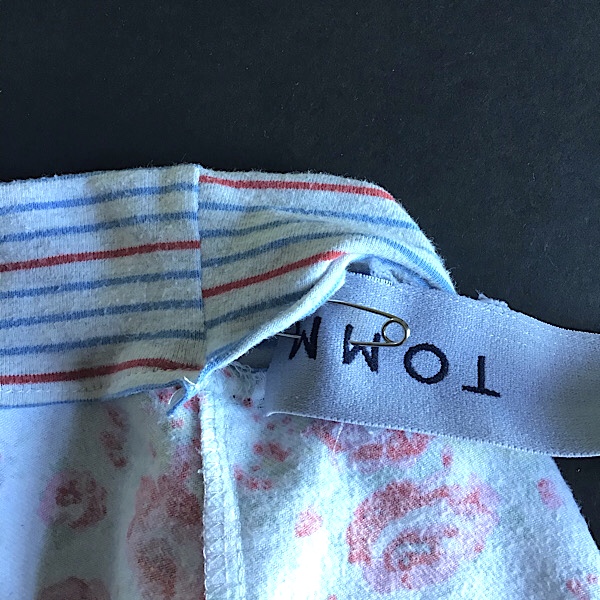
I was looking for a soft fabric to replace the waistband to give extra comfort. My husband no longer wanted some of his boxer shorts as the fabric had shrunk after many washes. What a great resource of fabric and elastic! The colours of the stripe pair worked well with the colours on my pyjama bottoms.
I cut the elastic off the top of the boxers and then cut around the stitching at the front opening of the boxers. It created one long piece of jersey fabric with no seams. Perfect!
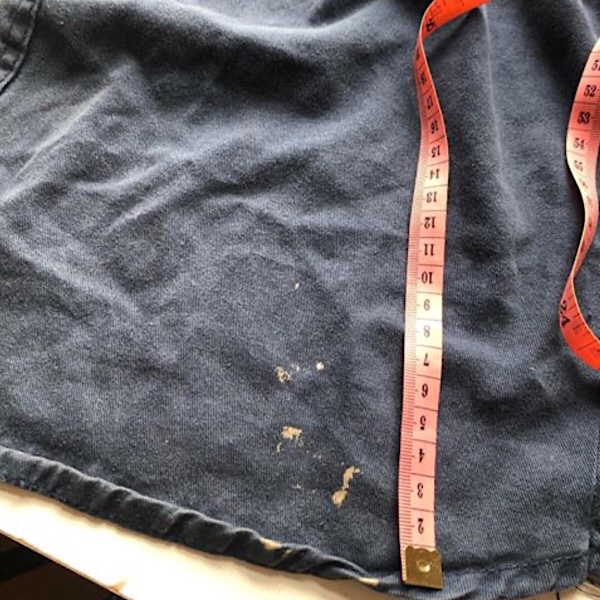
I measured the depth of the original waistband and also the new elastic from the boxers that I was going to be using. The elastic was slightly deeper than the original waistband so I used the elastic measurements. I doubled this measurement and added 2cm to the depth (seam allowance to attach to the pyjama bottoms). E.g. 5cm depth x 2 = 10 + 2cm seam allowance = 12cm deep.
I measured the waist of the PJ bottoms with the tape measure. They will be too big but I am going to add elastic later on to draw them in. I used the same measurement along the length of the boxer short fabric. The fabric wasn’t quite long enough so I measured 12cm depth of the waistband and cut two lengths from one end of the fabric to the other.
I stitched these two lengths of fabric together using a zig-zag stitch (right sides together, facing each other). Jersey fabric likes to be able to stretch and using a zig-zag stitch (by machine or hand) gives it flexibility. I now had a piece of jersey long enough to fit around the PJ bottoms. I measured it against the waist measurement I had made earlier and added 2cm for seam allowance. I cut the waistband to this measurement.
I sewed the two ends of the new waistband together using a zig-zag stitch. Match the two short ends, right sides of the fabric together. The seam that I made earlier was showing, wrong side out.
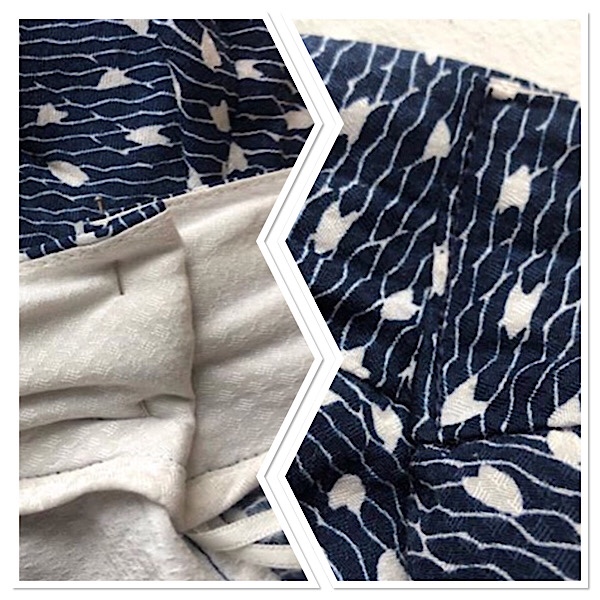
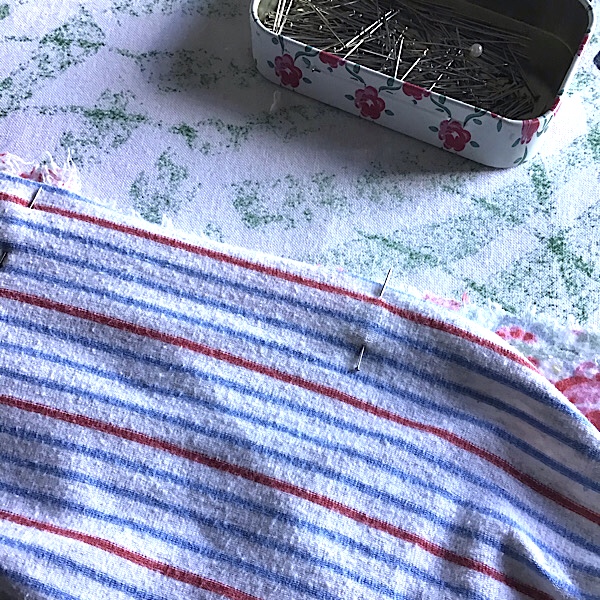
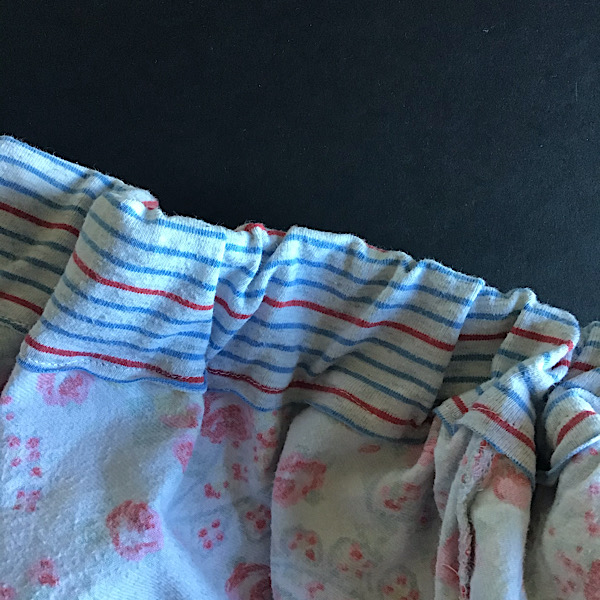
One of my favourite pieces of equipment for sewing is an ironing board. It is useful for cutting out long lengths of fabric and for this part of the process, it is a good height to pin the waistband to the PJ bottoms. I placed the opening of the PJs over the end of the ironing board, laying it flat (give it a press if needed). Starting on the back centre seam of the PJs and working on the right side. I placed the long edge of the waistband to the edge of the PJs, right sides of the fabric together.
I used pins to keep the waistband in place. I moved the PJs around the ironing board until reaching the centre back seam, where I started. Placing the pins vertical makes it is easier to remove them as you sew and unlikely to break a needle if you miss one. Because the jersey stretches, I was able to ‘ease’ the waistband to the waist of the PJs. If it is too big then make a small pleat. Once the elastic is added it won’t show. If the waistband is too small then stretch it to fit the PJ bottoms. If it is very small then another piece of fabric will need to be added into the waistband.
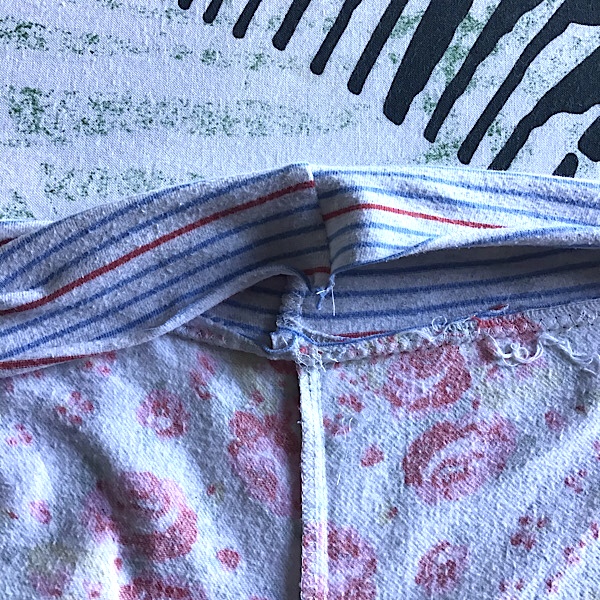
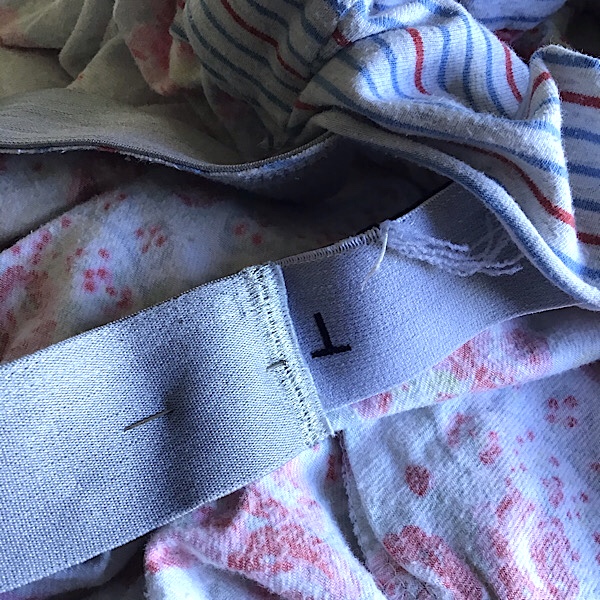
I stitched the waistband to the PJ bottoms using a 1cm seam allowance and a zig-zag stitch.
Back to the ironing board and I pressed open the seam I had just created. Tucking the raw edges up towards the waistband. This will be hidden in the next step
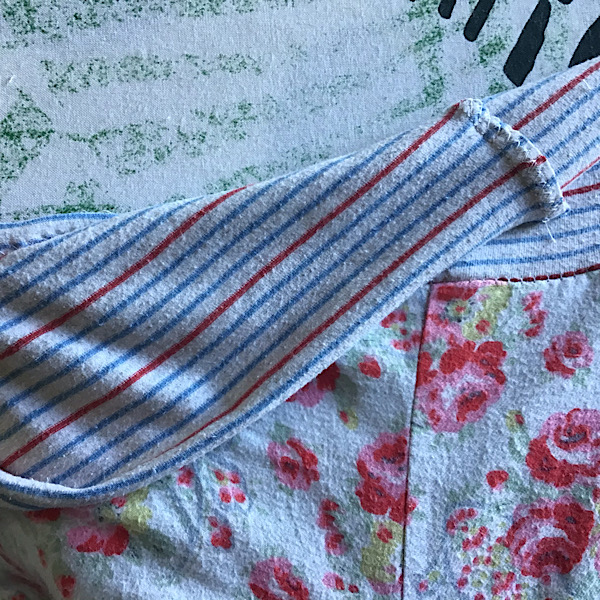
Working on the wrong side, I folded the waistband in half, front to back, so it covered the line of stitching I had created by 1cm. Pin in place working around the waistband. It is important to not sew a gap of about 8cm. I like to use the back seam as a marker but it can be anywhere. Add two pins adjacent to each other at either ends of this gap to remind you to stop stitching at this point. We need this gap to insert the elastic.
Working on the front, I used a technique called ‘stitch in the ditch’ to secure the back of the waistband down but it isn’t visible on the front of the waistband. I lined the needle of my sewing machine up literally in the ditch created by the seam of the waistband and PJ bottoms. If you are sewing by hand then work from the reverse of the garment and use a hem stitch. Don’t worry if the stitching goes off centre, it just takes a bit of practice.
I cut the circle of elastic from the boxer shorts to make one long length. I needed a bit extra so I used some elastic from another pair and stitched them together flat in a square as below. I used a zig-zag stitch to give extra stretch.
Once I had a longer length of elastic, I measured it around my waist. I needed 2cm on both pieces so I can sew them together.
I Placed a large safety pin in one end of the elastic.
I inserted the safety pin and elastic into the gap of the waistband that was missed from sewing.
I pushed it through the waistband until it reached the other end. Make sure you don’t loose the other end of the elastic. Safety pin it to the fabric of the PJs to be sure.
I pulled both ends of the elastic out of the waistband and pined them together using the 2cm seam allowance on both pieces. Lay them flat and make sure they are not twisted in the waistband. Re-pin them if the elastic is twisted. Using the same method as I did to fix the two pieces of elastic together, sew a square using a zig-zag stitch.
Tuck the elastic into the waistband. Press the waistband flat with a light steam and not pressing too hard. Try the PJs on before you sew the waistband. Mine were a bit loose so I cut the elastic at another point and stitched it together again using the above method.
I pinned the opening of the waistband in place and stitched from the front as I did previously. If you miss any bits of waistband, just go over them. It won’t show once the elastic gathers the waistband together.
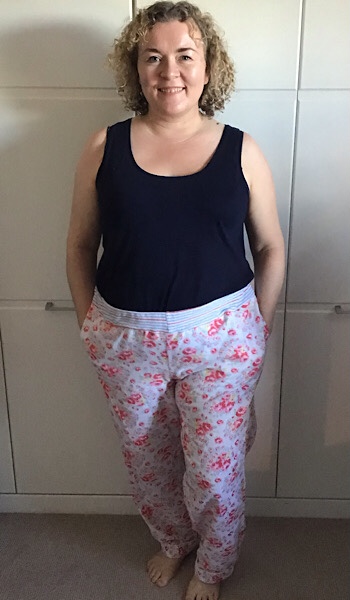
I’m so happy with my new PJ bottoms! After 4 years of them sitting in a pile it is really satisfying to be able to finally wear them and they are super comfy! This method can be used to alter a waistband to any trousers, shorts or skirt as long as they have pleats to give a bit of extra fabric. Or if you have some that are too big then this method will gather the waist in.
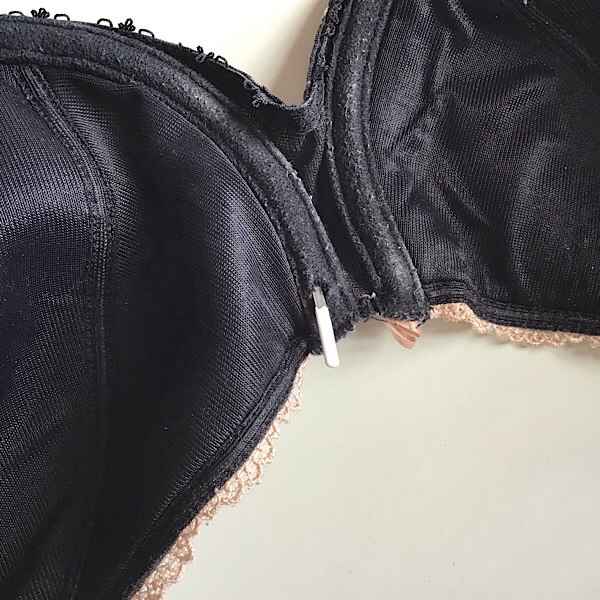
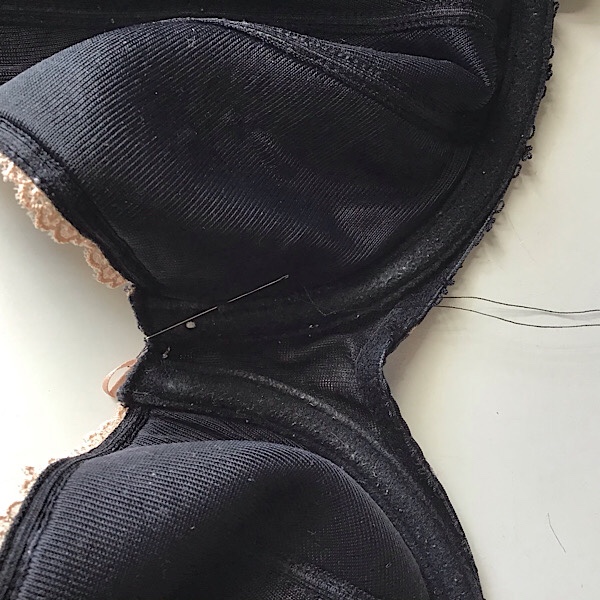
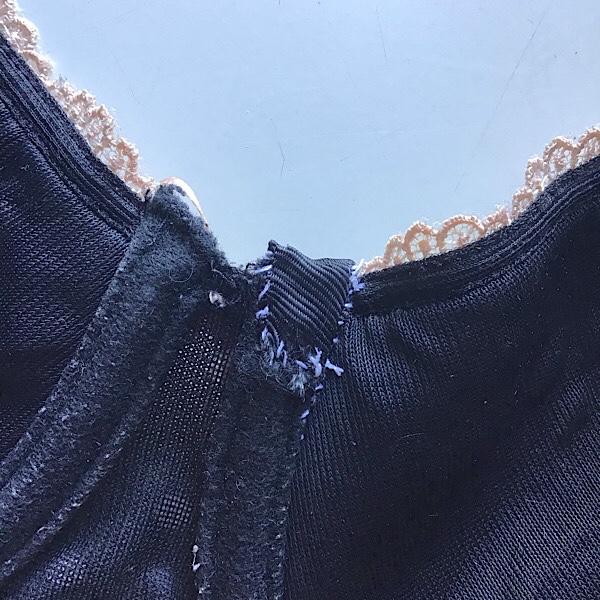
Underwire sticking out of a bra and into the skin is uncomfortable but quick and easy to fix! It is a common problem, likely to happen when bras are washed in the washing machine. Follow these simple instructions and fix that bra!
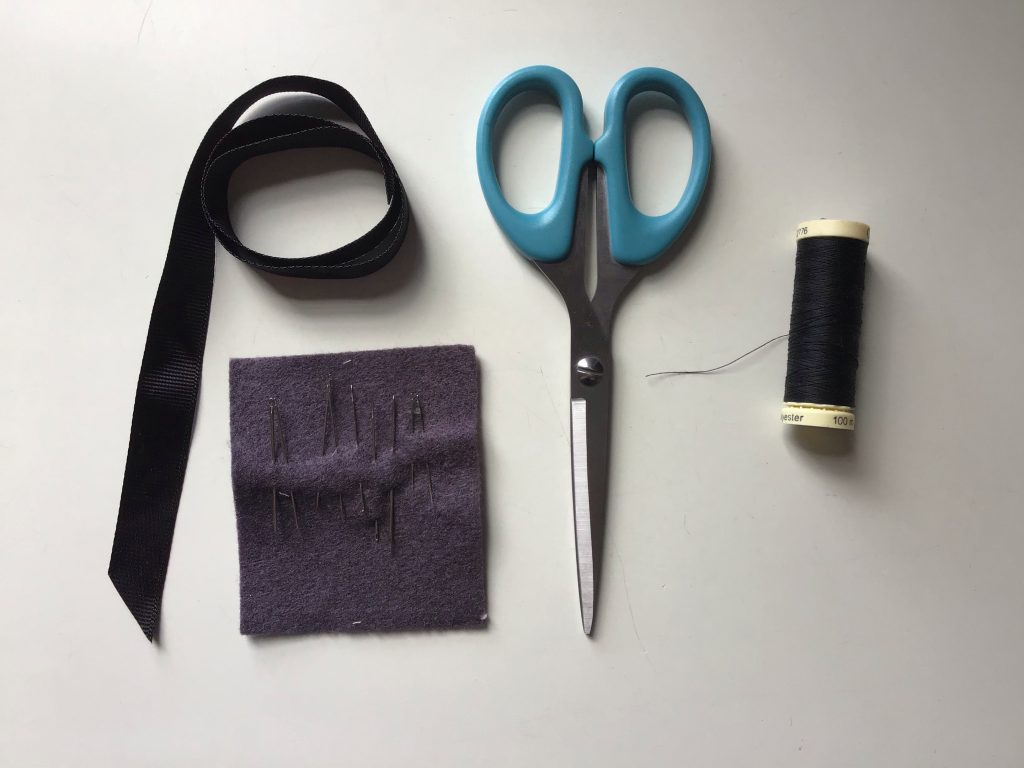
Equipment
Piece of ribbon, tape or bias binding
Sharp scissors
Sewing thread
Sewing needles
Instructions
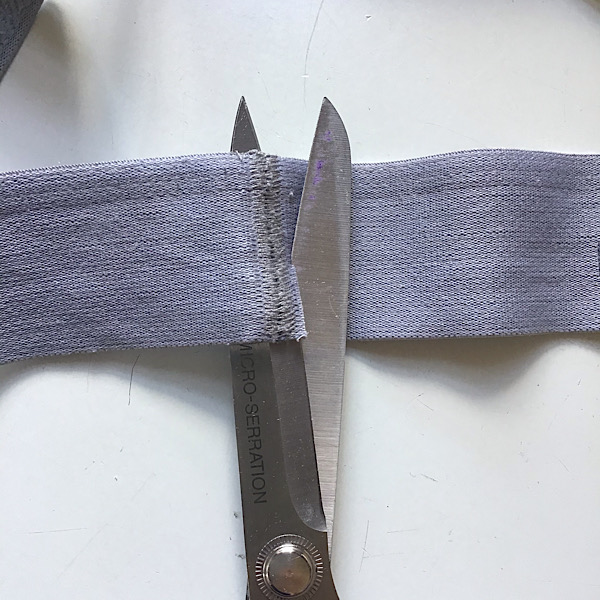
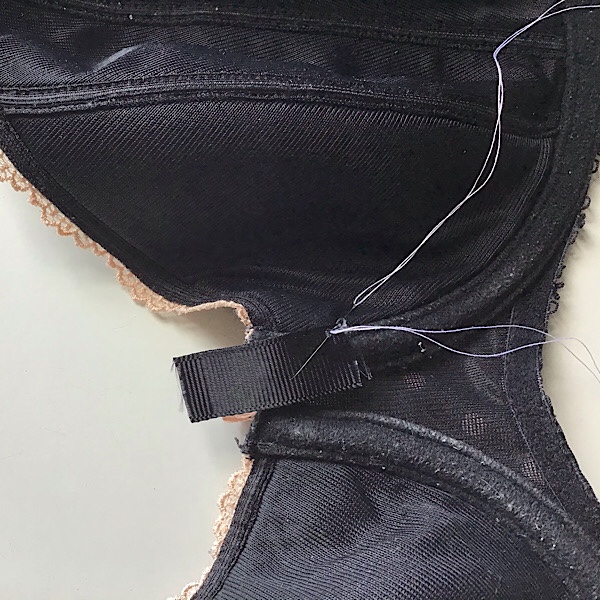
Choose a piece of tape or ribbon that is a similar width to the wire casing. We’ve chosen a piece of Petersham ribbon. It has ridges widthwise and is strong but pliable. It is often used in making hats. We cut this piece from a handle of a paper gift bag.
Trim the length of the ribbon so it is long enough to cover the hole on the inside of the bra and hem over on the front side of the bra.
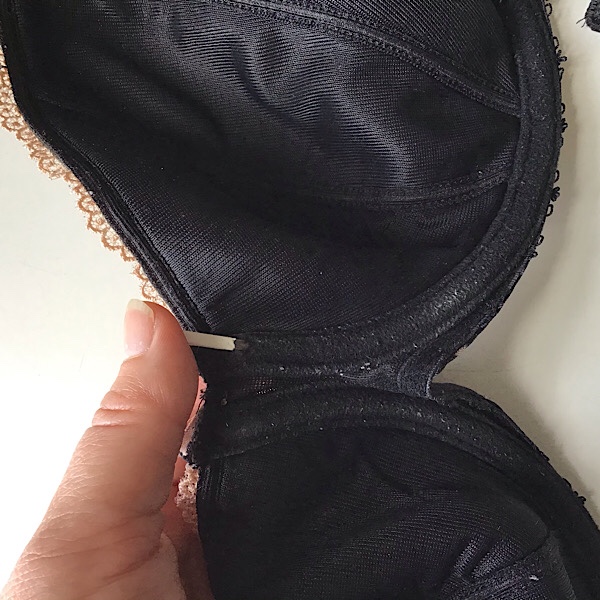
Push the wire back into it’s casing. If it is stiff, use a thimble or push the end of the wire down onto the table. Manoeuvre the wire into it’s casing by wriggling it around until it stays in place.
Thread a needle, double the thread and make a knot at the end. There will be a narrow edge on the wire casing that hasn’t been stitched down. Use this edge to sew along. Start with one or two stitches just below the hole before attaching the ribbon to make sure the needle passes through easily. We are switching to white thread so it shows up in the photos but you can match the thread with the bra or ribbon if preferred.
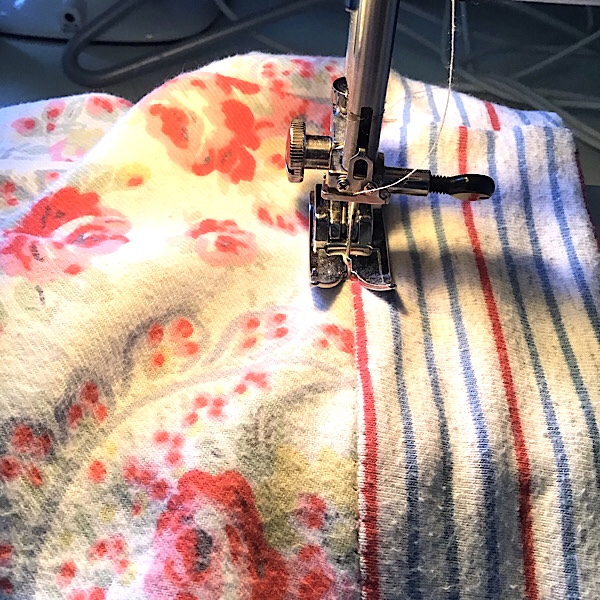
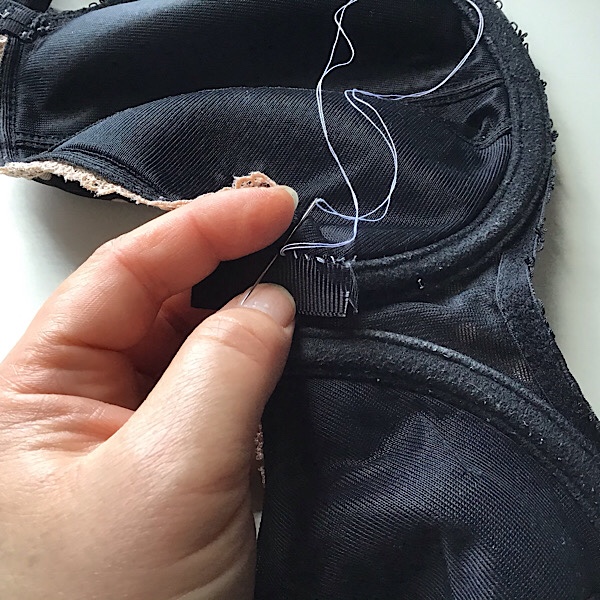
Place the ribbon or tape a few millimetres below the hole and sew the edge of the ribbon to the edge of the wire casing using an overstitch. Watch the video below on how to sew an overstitch. Hold the ribbon in place with your non-sewing hand as you sew as it will be too thick to secure with a pin.
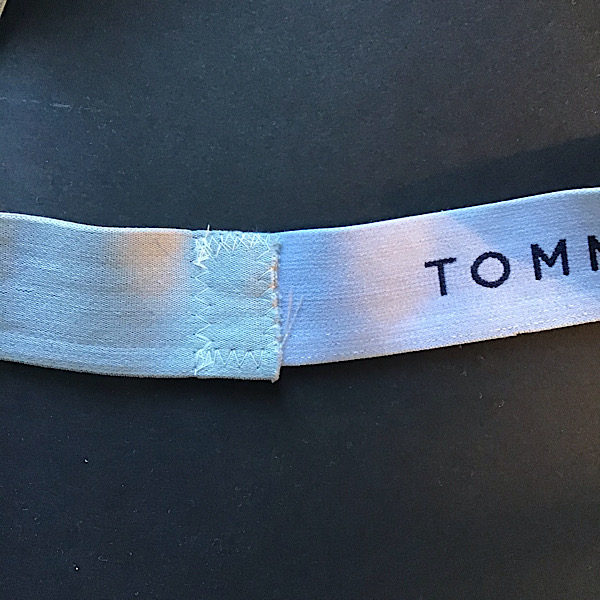
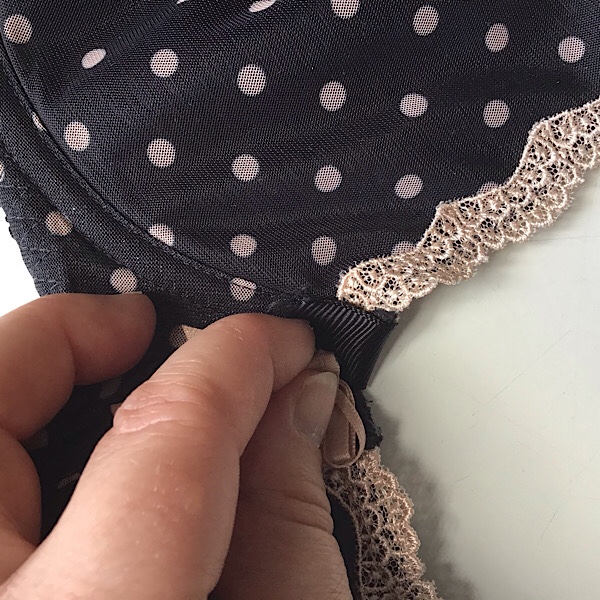
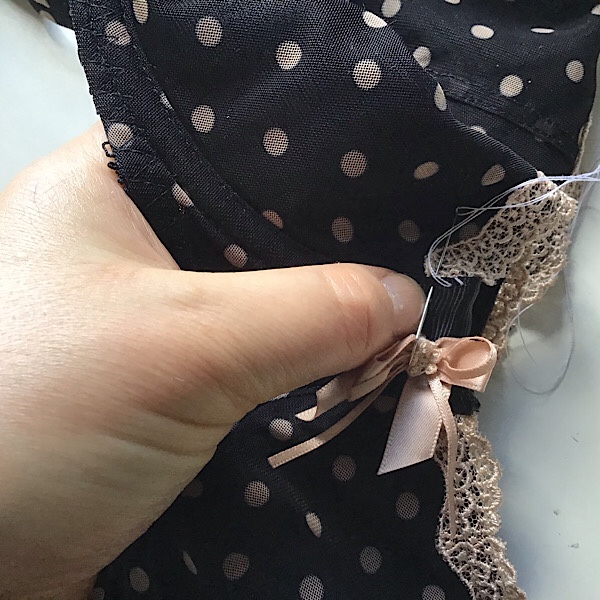
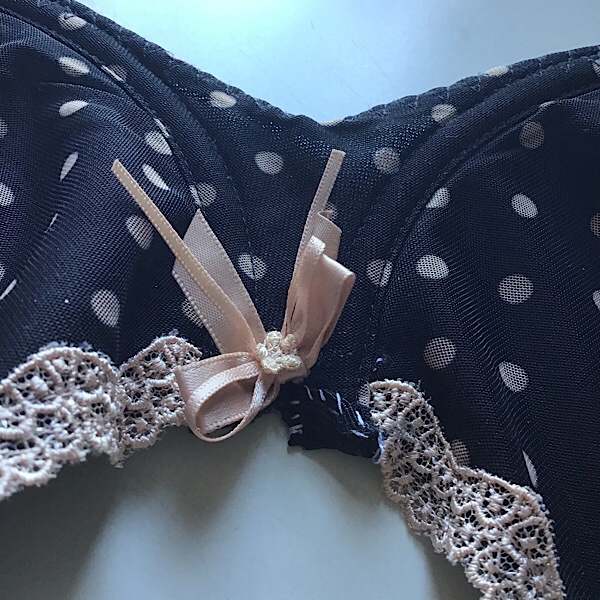
As you get to the top edge of the bra, fold the ribbon over to the front of the bra and keep sewing the ribbon to the front. Most bras have a decorative ribbon, move this out of the way with your non-sewing hand. Continue sewing until you get a few millimetres from the base of the ribbon. Tuck the edge of the ribbon underneath itself and overstitch in place. Continue up the other side of the ribbon until you reach the top front of the bra.
This isn’t the neatest bit of sewing as it is quite tricky to sew with one hand and hold the ribbon in place with the other. But it is secure and as we like to say at Fast Fashion Therapy ‘done is better than perfect’. Also, if the thread matches the ribbon the stitching will be less visible.
The wire may poke through the ribbon after more wears and washes. If this happens then unpick the original mend and start again with a fresh piece of ribbon or tape. No more painful digging in bras! Click here to read our post on how to refresh knickers.
Katy got in touch at the start of lockdown to invite us to take part in her podcast. A journalist student at the London College of Fashion, Katy has created Boro Magazine as part of her final major project. She tells us ‘I am producing a magazine which explores contemporary make do and mending, focusing on the importance of extending the life of old clothing and innovative textile craftsmanship.’
The magazine sounds right up our street and we were happy to take part in her podcast. Katy asked us how we encourage people to repair their clothes and also the focus we place on therapeutic mending. Her questions were well researched and we had a lively conversation about our workshops. Click the button below to listen to the podcast (30 mins long)
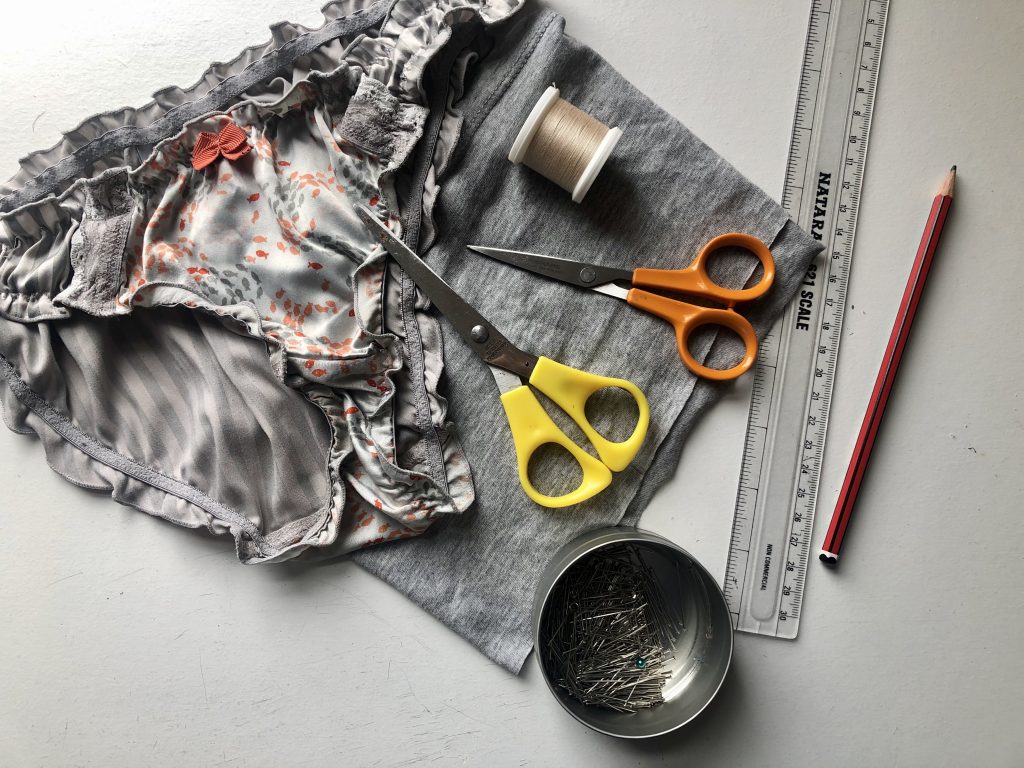
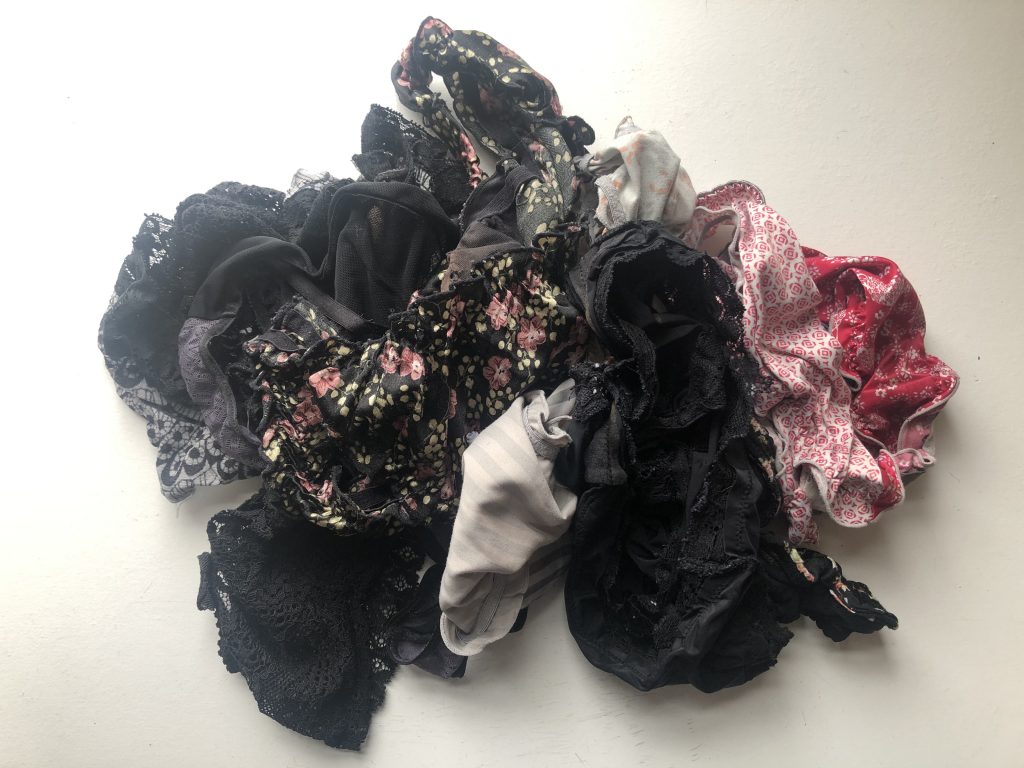
Without going into too many intimate details, many of the pairs of pants or knickers that we own get damaged or stained in the same area. The majority of the fabric that makes the knickers is still in good condition and perfectly useable, but the (often) cotton gusset that lines the inside of the knicker becomes discoloured or weak from regular wear. This ‘How to’ blog will take you through a simple technique to replace the cotton gusset using old t-shirt fabric and keep your undies going for even longer!
A mini mountain of tired knickers ready to be repairedWhat you need to get started – Pre-loved knickers, cotton jersey fabric, sharp fabric scissors, paper scissors, paper, pencil, ruler, pins, sewing thread, either hand stitching needles or a sewing machine
To get started, you’ll need to find some cotton jersey fabric, this could be from an old (but not too damaged/stained) t-shirt you have at home or you can buy cotton jersey fabric online (there are lots of sustainable options for this too, Offset Warehouse usually have a good selection). I’m using the bottom of a t-shirt that I cut off to turn it into a cropped style. This blog shows how to do the technique on a classic knicker style, it can be adapted for other styles, it’ll just get more fiddly the tinier your underwear is!
As well as this, you’ll need your much-loved knickers, fabric scissors, paper scissors, matching or contrasting sewing thread (depending on your style), pencil, paper, ruler and dressmaking pins. This blog will show how to do the technique with a sewing machine, but it could be done using hand-stitching as well.
First off, start by using your fabric scissors to cut the cotton gusset that is already in the knickers away along the edge of the elastic and across the seams on the top and bottom. Be careful when you’re doing this not to cut the outer fabric and create any more holes in your underwear, you can pull the top fabric up as you cut to avoid catching the outer fabric. Try to keep the fabric you cut away in one piece as this will be used in the next stage.
Using the piece of fabric you have cut out, draw around the shape of it onto your piece of paper. Once you have drawn all the way around, use a ruler to measure another line 1cm from the edge of the shape and draw all the way around. This is the template you will use for cutting your new gusset out.
Use some pins to secure your paper template onto the cotton jersey fabric you are working with and cut around the shape with your fabric scissors. If you have lots of knickers that are a similar size and shape in need of repair, you might be able to use this template for all of them. It’s good to check the style and sizing of the gusset on each one before you cut the fabric out so you don’t waste any fabric.
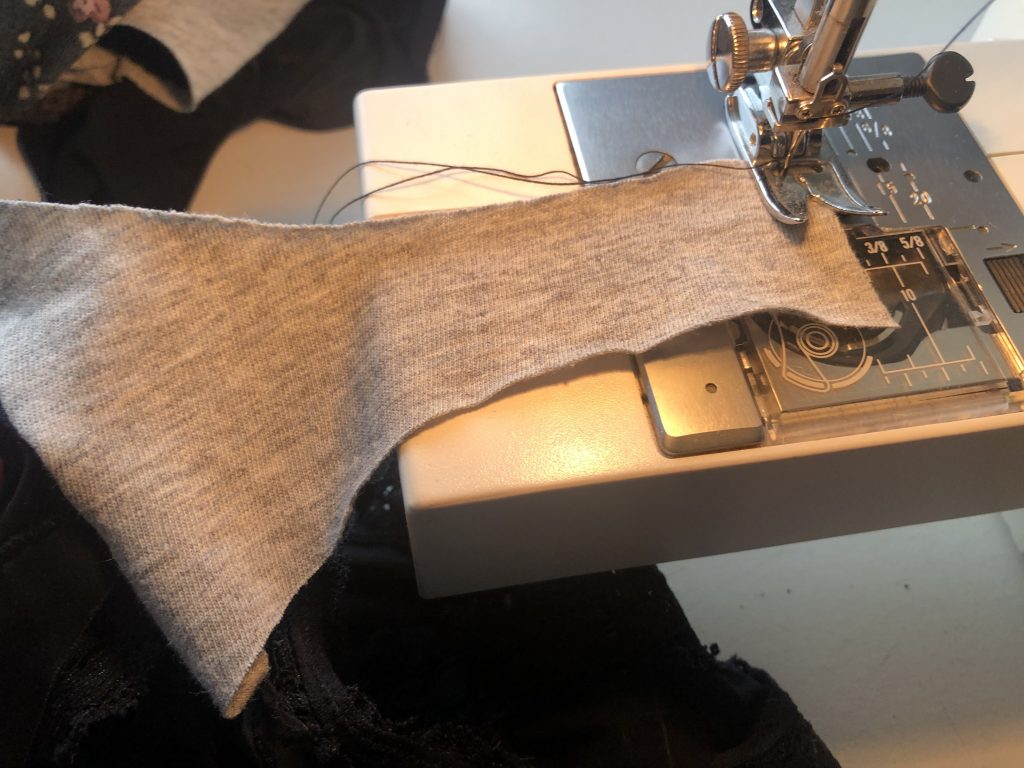
Taking your cotton jersey fabric, line the top wider edge of the piece up with the seam in your knickers that joins to the area of fabric that covers your bottom (this is where the original gusset would have been attached). Pin the jersey fabric to the pants along the top line of this seam so that when the fabric is folded back over, it will be covered.
Either using your sewing machine or a hand-stitching needle, sew a straight line along this top edge where you have pinned. If using a sewing machine, remember to reverse stitch at the start and end of the line. Using a slightly longer stitch setting than normal can help the tension to be correct on stretch fabrics like these. If you are sewing by hand, it’s best to use a backstitch to make the stitching stronger, you can find a ‘how to’ video on this technique here.
Once you’ve stitched this line, you might want to cut away some of the excess seam allowance and then fold the fabric over so it roughly sits in line with the knickers underneath.
You’ll then do a similar process on the other narrower end of the gusset. This side is a little bit trickier as the other end is already sewn down, so you are not able to lie the fabric totally flat. Find the seam where the original gusset was attached and fold the end of the new gusset so it lines up with this and covers it. You’ll then need to pin just the bottom layer of this fold to the fabric of the knickers below, be careful not to catch any extra bits of fabric when you are pinning.
Once it is pinned correctly in place, you can sew a line of straight stitching in the same way as before, either using a machine or by hand. Again, be careful not to catch any extra bits of fabric as you sew as you can’t get it completely flat. The first time I sewed these I caught a bit of the fabric and created a fold which I then had to unpick. Creating a fold in the fabric won’t damage the knickers but it might make them less comfortable to wear. Once the stitching is done, you can cut away the excess fabric from the seam allowance so that it looks roughly like the image above on the right.
The next stage uses the zig-zag stitch on the sewing machine to secure the two longer sides to the elasticated edge of the knickers. I used the same slightly longer stitch setting as before with a medium width. Line your needle and presser foot up with the elastic edging of the knickers on top of the new gusset fabric and lower. Once secure pull of both layers of the fabric and stitch a line along the edge of it. Keep pulling on the fabric as you stitch, this will help to keep the stretch in the elastic. You can try to follow the ridge of the elastic underneath as a guide for a neater finish. Remember to reverse stitch at the start and end of the line.
This process might be a little harder to replicate using hand stitching as you need to pull on the fabric as you stitch. You could still do this if you pull the fabric in smaller sections and then stitch, pulling and stitching as you work your way along the line. It’s best to try and mirror the shape of the zig-zag stitching by hand if possible, you can use the same backstitch technique you used before but in the zig-zag shape.
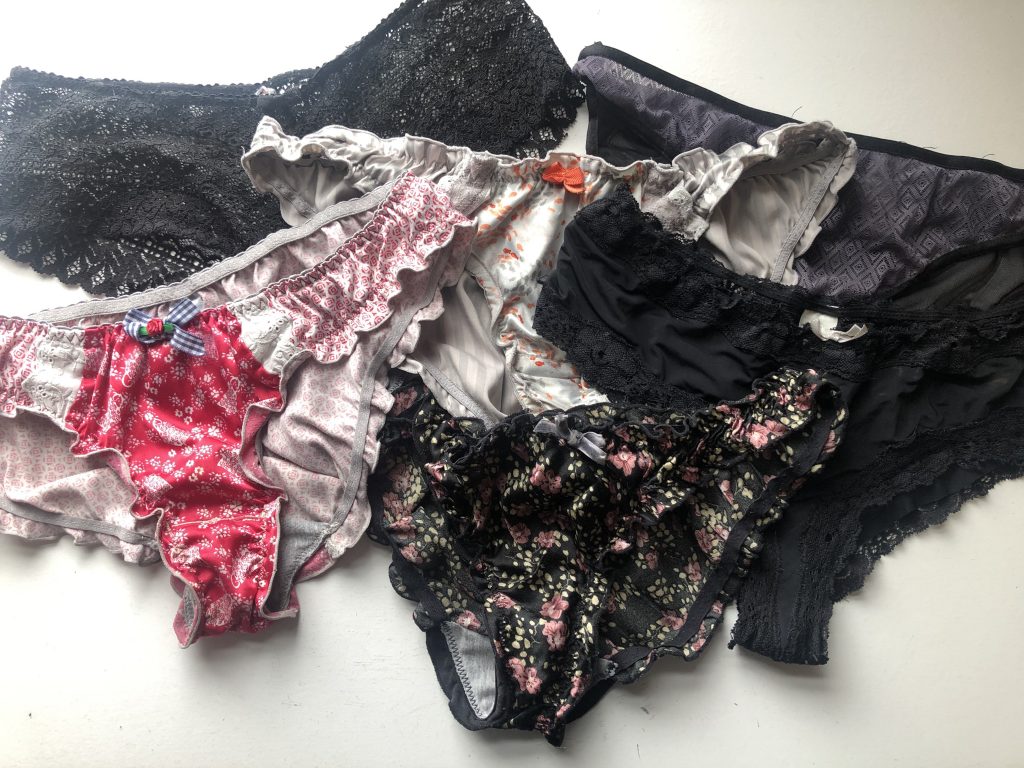
Stitch along both edges of the gusset, once you have finished you can trim away the excess cotton jersey fabric on either side to neaten it up and trim away the loose threads. And you have one pair of refreshed knickers!
The gusset on some knickers you own might be attached in a slightly different way to this. Sometimes they are only attached along the two longer edges and not on the narrower edges on the top and bottom. This could be to speed up production times or to protect the fragile fabric that is used to make the rest of the knicker. The two narrower edges would normally be overlocked if made in a factory. If you are repairing knickers like these at home, you could instead use your sewing machine to bind the edges of the gusset using the zig-zag stitch. Or do a similar stitch by hand, trapping the edge of the fabric and folding it slightly so it doesn’t fray.
The gusset on this pair of knicker was attached on one end and loose at the other. In this case, I attached the wider end as before and then zig-zag stitched the narrower end. You can then stitch down the two longer sides along the elasticated edges like before.